WysywigTabs
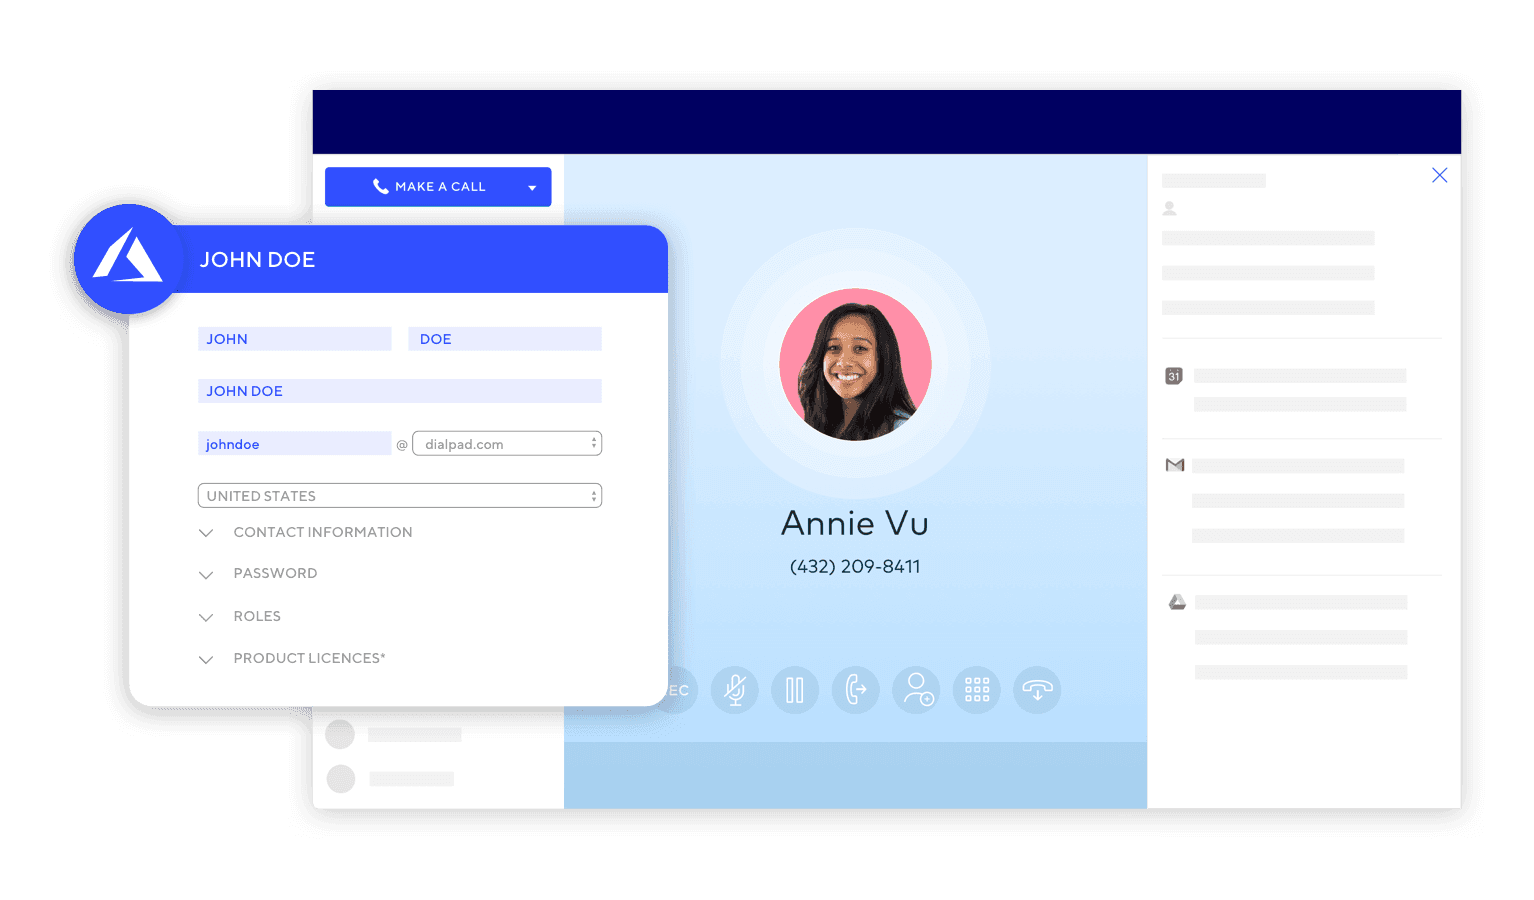
With Dialpad and Azure, IT teams can sync up their voice platform with their identity provider to automatically assign a Dialpad license when a new user is created in Azure. In other words: less manual entry, happier IT teams.
Why Dialpad + Azure?
Up & Running
Thanks to the cloud, your apps can talk to one another (and even help each other out) to get tasks done faster.
Safe & Secure
Need to make a change to team credentials? Do it from a centralized portal that you’ve already built your user management strategy around.
Nice & Easy
Available on the AD marketplace, syncing your Dialpad and Azure account happens in a few clicks and then, well, just works. Imagine that.
Key Features:
User Provisioning
Create new users in Azure AD and automatically assign their Dialpad license so calling, messaging, and meetings can happen instantly
Delete users from Azure AD and automatically remove their Dialpad license
How Dialpad Integrates with this App:
The Azure integration is available as a CTI in the Azure environment.
Generate API Key in Dialpad
Navigate to Admin Settings > My Company > Authentication> API keys
Select Add a key and generate a new API key for Azure
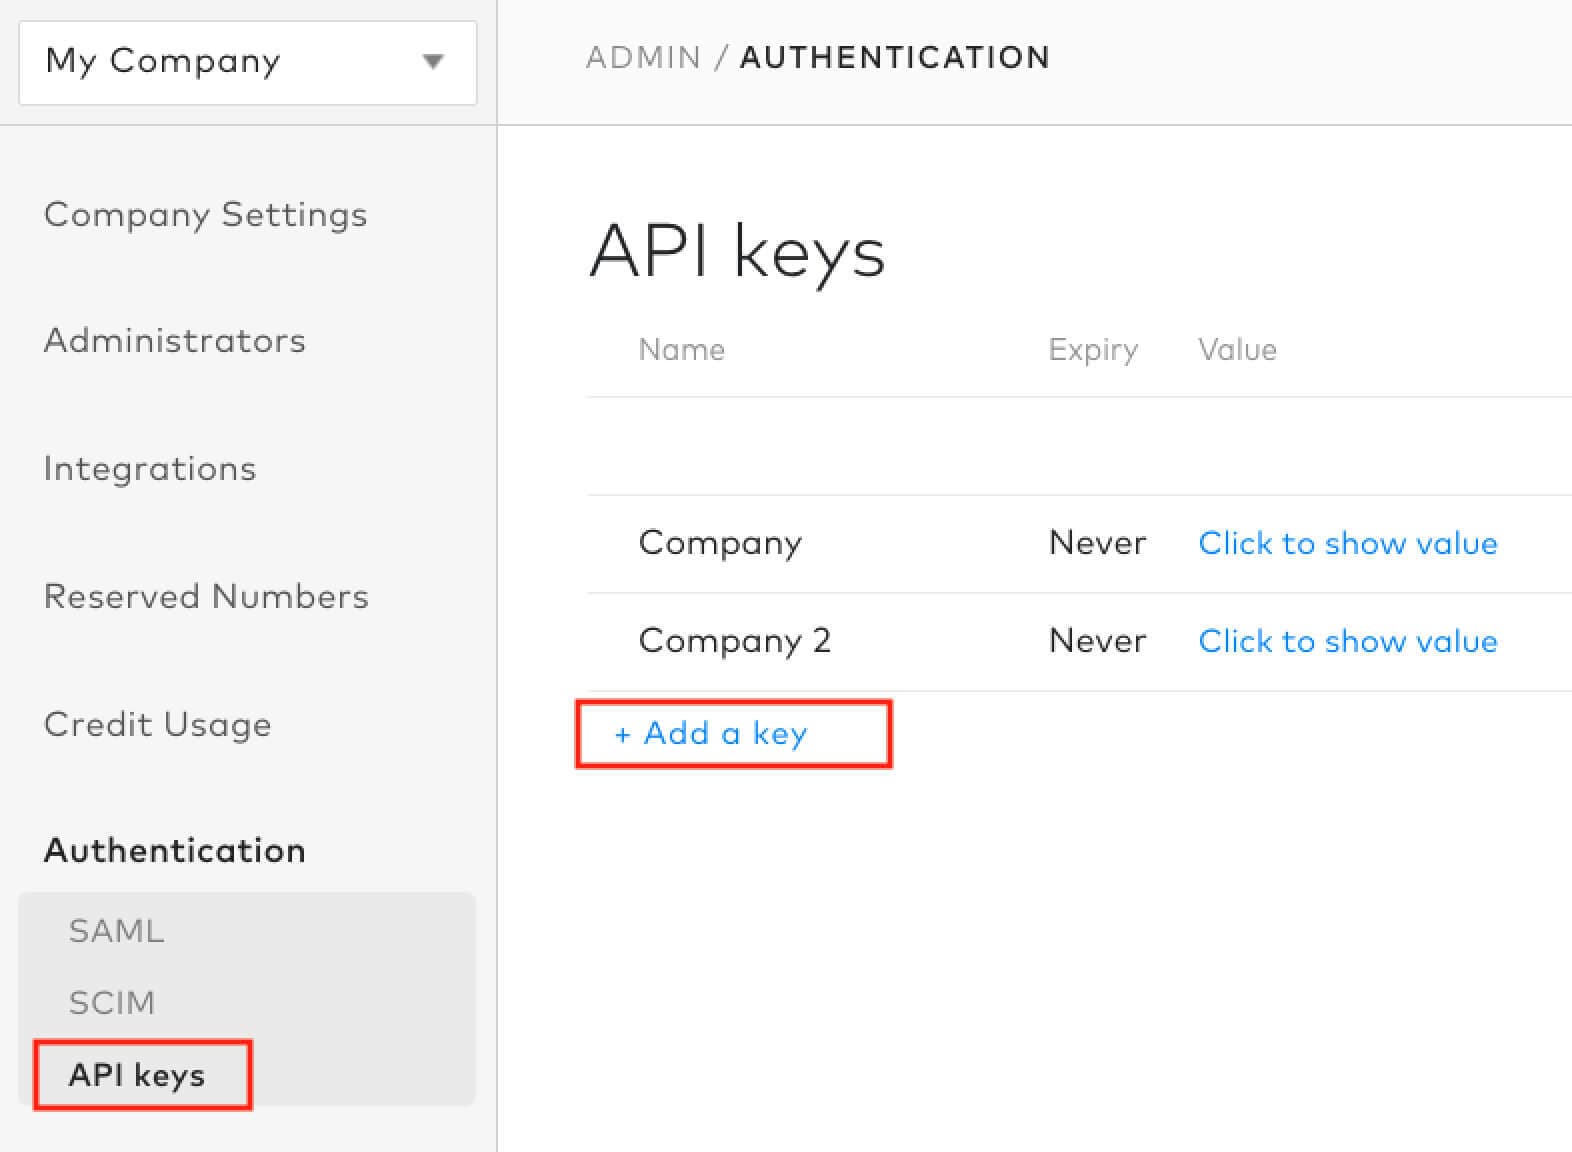
This API key will be used later when authenticating with Azure.
Add Dialpad from the gallery
To configure Dialpad for automatic user provisioning with Azure AD, you need to add Dialpad from the Azure AD application gallery to your list of managed SaaS applications.
To add Dialpad from the Azure AD application gallery, perform the following steps:
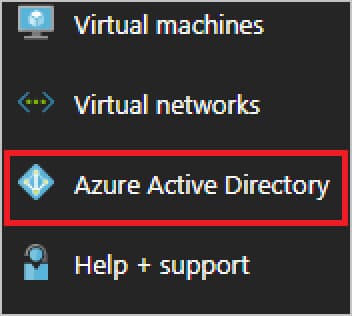
In the Azure portal, in the left navigation panel, select Azure Active Directory.
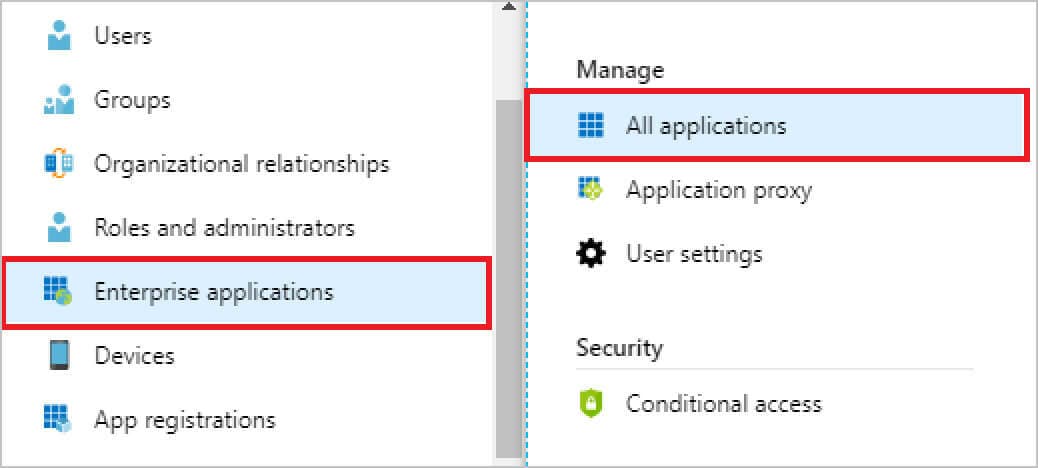
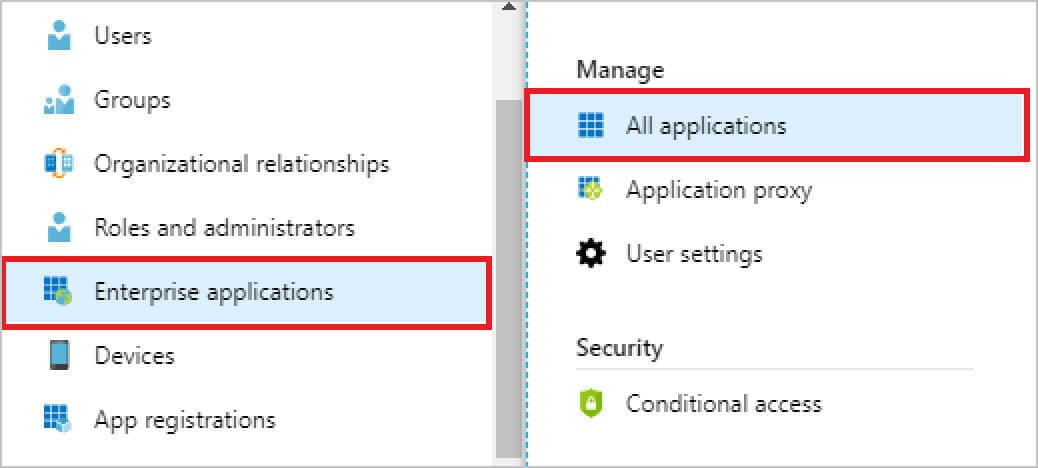
2. Go to Enterprise applications, and then select All applications.
3. To add a new application, select the New application button at the top of the pane.

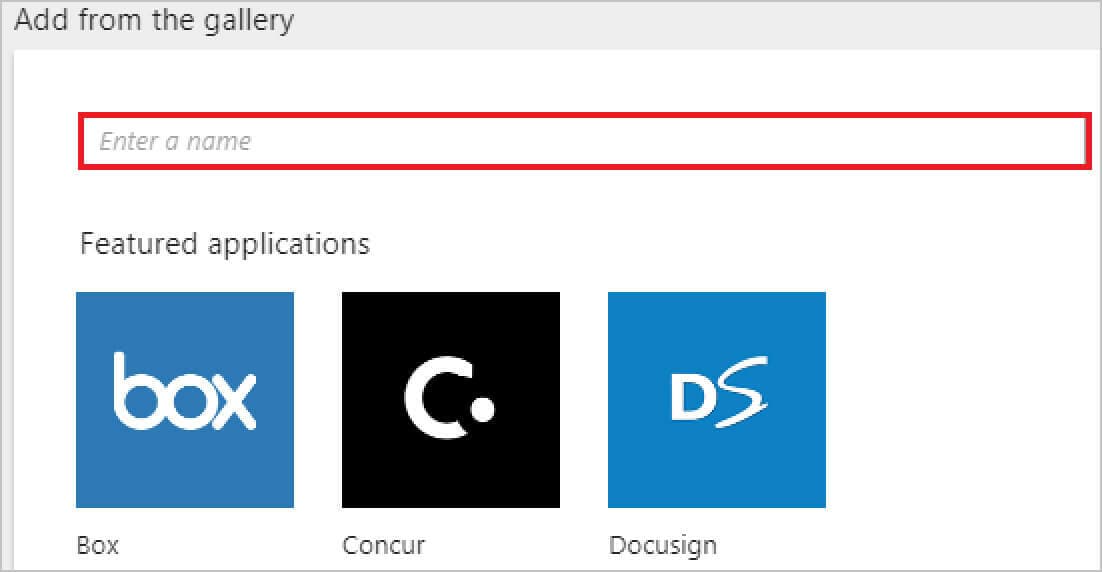
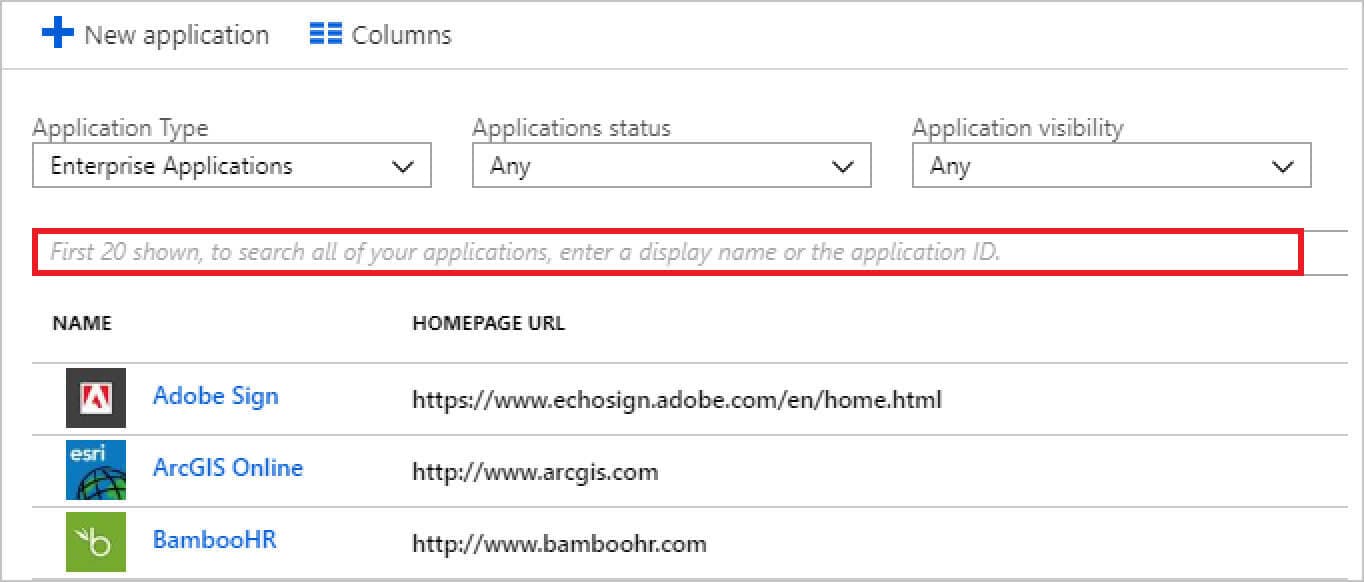
4. In the search box, enter Dialpad, select Dialpad in the results panel.
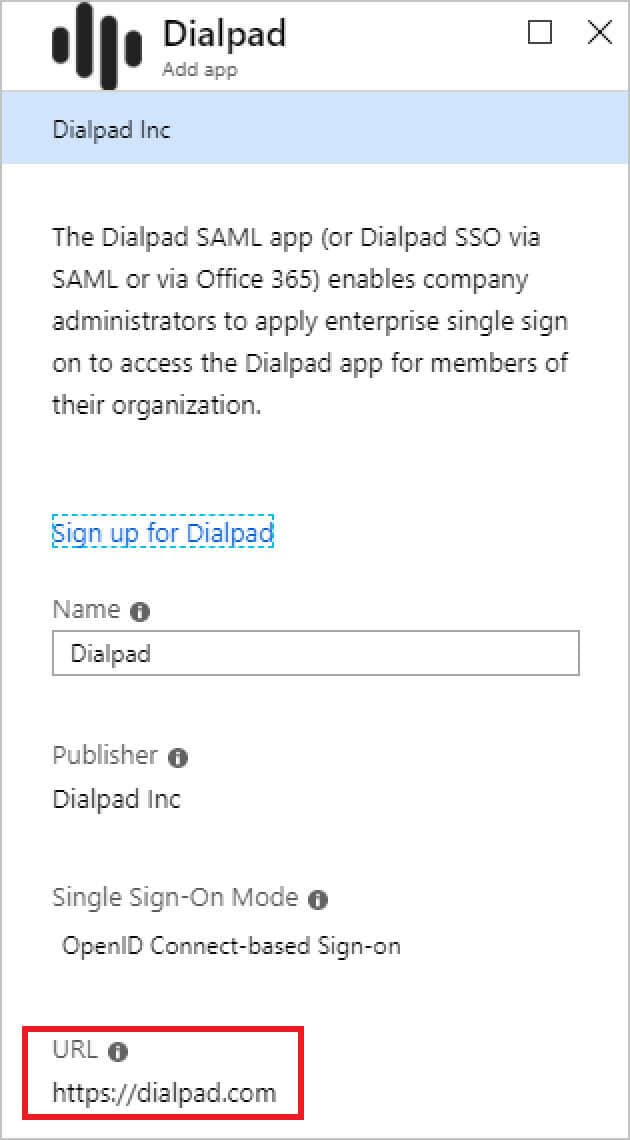
5. Navigate to the URL highlighted below in a separate browser.
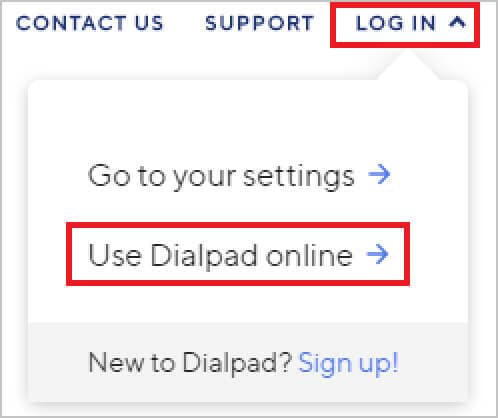
6. In the top right-hand corner, select Log In > Use Dialpad online.
7. As Dialpad is an OpenIDConnect app, choose to login to Dialpad using your Microsoft work account.
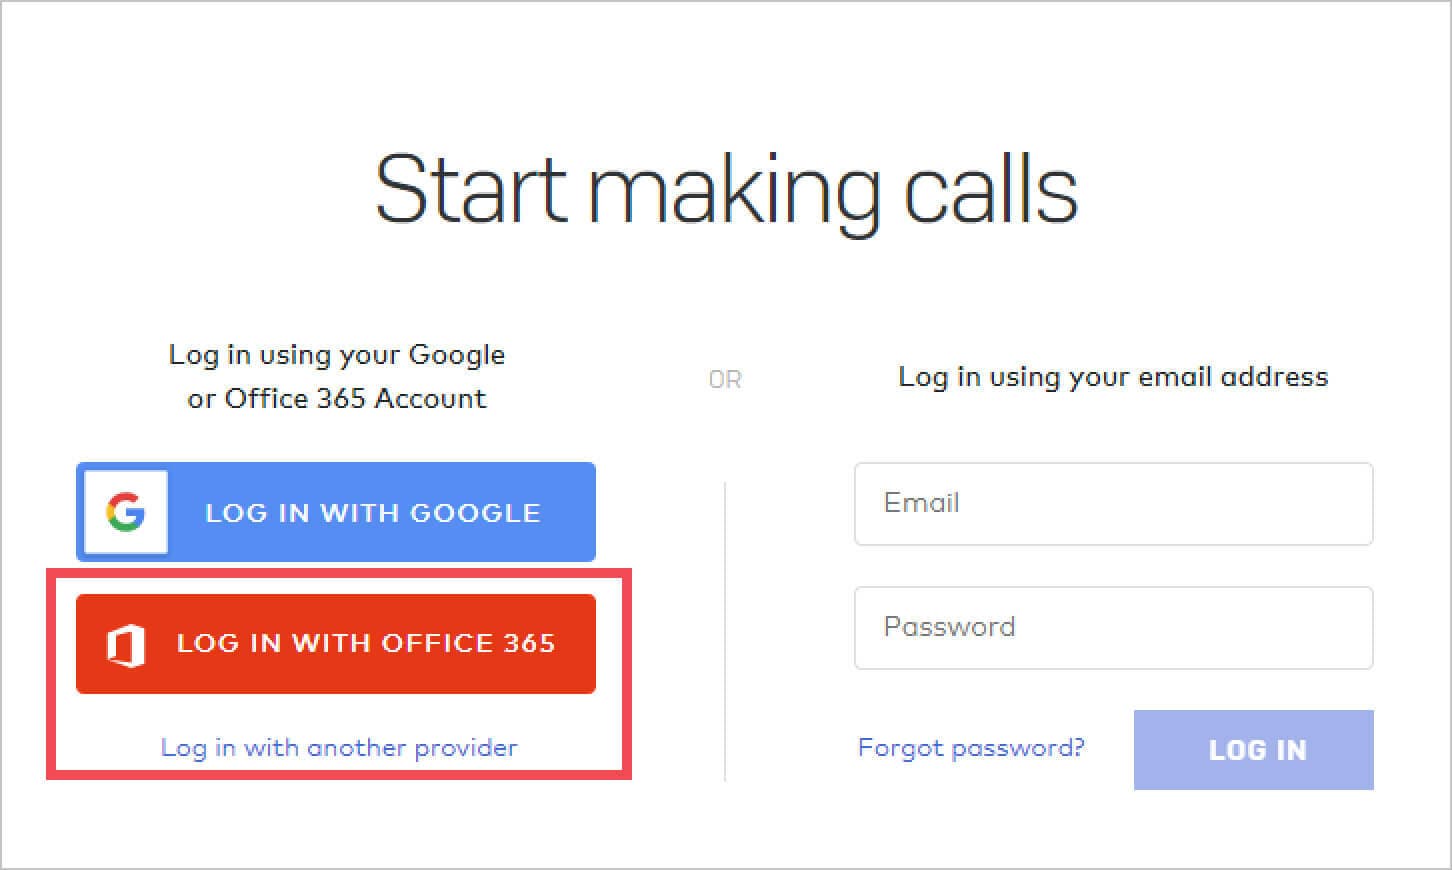
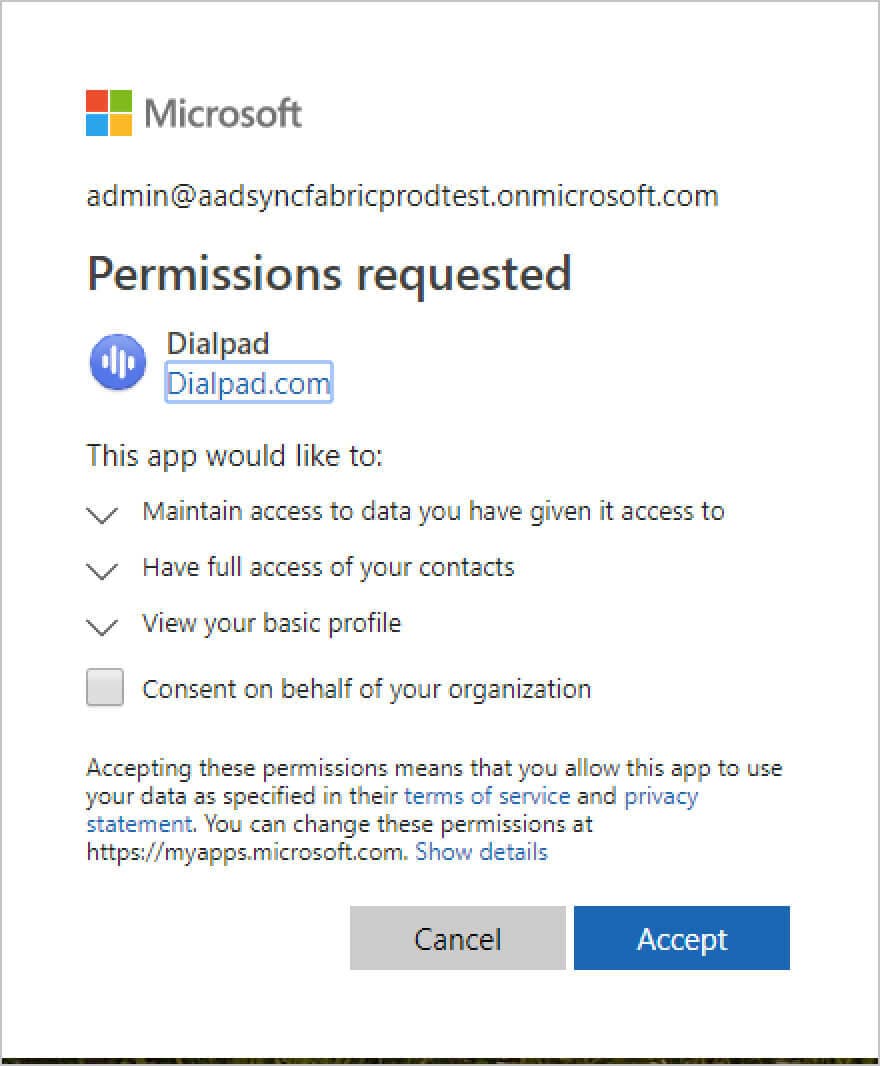
8. After successful authentication, accept the consent prompt for the consent page. The application will then be automatically added to your tenant and you will be redirected to your Dialpad account.
Configure Automatic User Provisioning in Dialpad
This section guides you through the steps to configure the Azure AD provisioning service to create, update, and disable users and/or groups in Dialpad based on user and/or group assignments in Azure AD.
Sign in to the Azure portal. Select Enterprise Applications, then select All Applications.
2. In the applications list, select Dialpad.
3. Select the Provisioning tab.
4. Set the Provisioning Mode to Automatic.

5. Under the Admin Credentials section, input <a class="dp-link" href="https://dialpad.com/scim" target="_blank">https://dialpad.com/scim</a> in Tenant URL. Input the value that you retrieved and saved earlier from Dialpad in Secret Token. Click Test Connection to ensure Azure AD can connect to Dialpad. If the connection fails, ensure your Dialpad account has Admin permissions and try again.

6. In the Notification Email field, enter the email address of a person or group who should receive the provisioning error notifications and check the checkbox - Send an email notification when a failure occurs.

7. Click Save
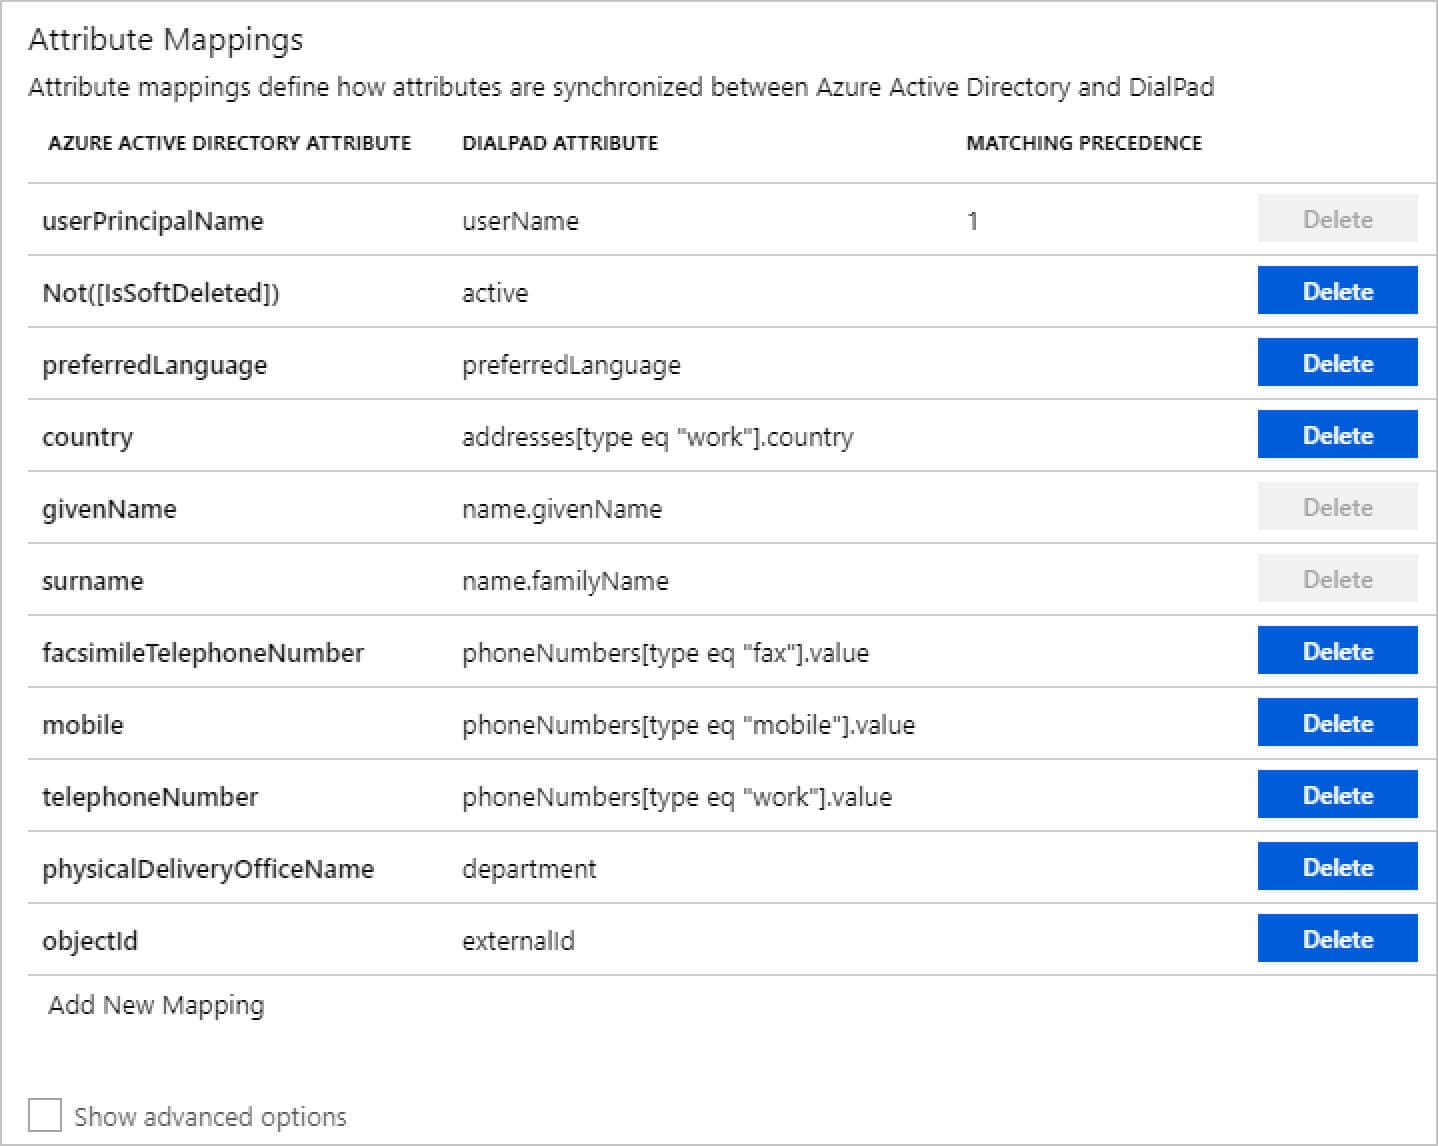
8. Under the Mappings section, select Synchronize Azure Active Directory Users to Dialpad.

9. Review the user attributes that are synchronized from Azure AD to Dialpad in the Attribute Mapping section. The attributes selected as Matching properties are used to match the user accounts in Dialpad for update operations. Select the Save button to commit any changes.
10. To configure scoping filters, refer to the following instructions provided in the Scoping filter tutorial.
11. To enable the Azure AD provisioning service for Dialpad, change the Provisioning Status to On in the Settings section.

12. Define the users and/or groups that you would like to provision to Dialpad by choosing the desired values in Scope in the Settings section.

13. When you are ready to provision, click Save.
This operation starts the initial synchronization of all users and/or groups defined in Scope in the Settings section. The initial sync takes longer to perform than subsequent syncs, which occur approximately every 40 minutes as long as the Azure AD provisioning service is running. You can use the Synchronization Details section to monitor progress and follow links to the provisioning activity report, which describes all actions performed by the Azure AD provisioning service on Dialpad.
Connector Limitations
Dialpad does not support group renames today. This means that any changes to the displayName of a group in Azure AD will not be updated and reflected in Dialpad.
With the Azure integration, Microsoft admins can configure their AD to automatically provision (or de-provision) users to and from Dialpad.
Azure admins can download the Dialpad app straight from the AD marketplace to set up the sync between the two platforms. Once connected, admins can simply add users directly from Azure to have them assigned a license and phone number.
Once assigned, users can log into the platform to start placing calls, coaching reps, or lending customers a supporting hand. Plus with role-based permissions, admins can select which specific users or groups have access to things like call recordings or voice analytics all from a single click.
Better Together
At the end of the day, anything that can help take some of the pressure off your IT team is a good thing, especially when that time can be better spent supporting your business’ needs. That’s why Dialpad + Azure makes so much sense for Enterprises—one central place for IT to do their thing.
Plus with our native Microsoft integration, shared emails, events, and files are automatically displayed on your contact’s profile, whether you’re at your desk or on the road, so you’re never out of the loop of on your next call.


