Désolé, cette page n'existe qu'en anglais. Sa traduction est en cours. En attendant, veuillez retourner à la page d'accueil de Dialpad en cliquant ici.

Retourner à l'accueil
Dialpad LogoDialpad Logo Icon

A GETTING STARTED GUIDE

Dialpad Ai Voice tips for Admins: Part 1

Learn how to get started with Dialpad Ai Voice. Start making calls, sending messages, and having video meetings! Haven't signed up yet? Try it free with a 14-day trial, or take a self-guided interactive tour of the app!
Sign up for free
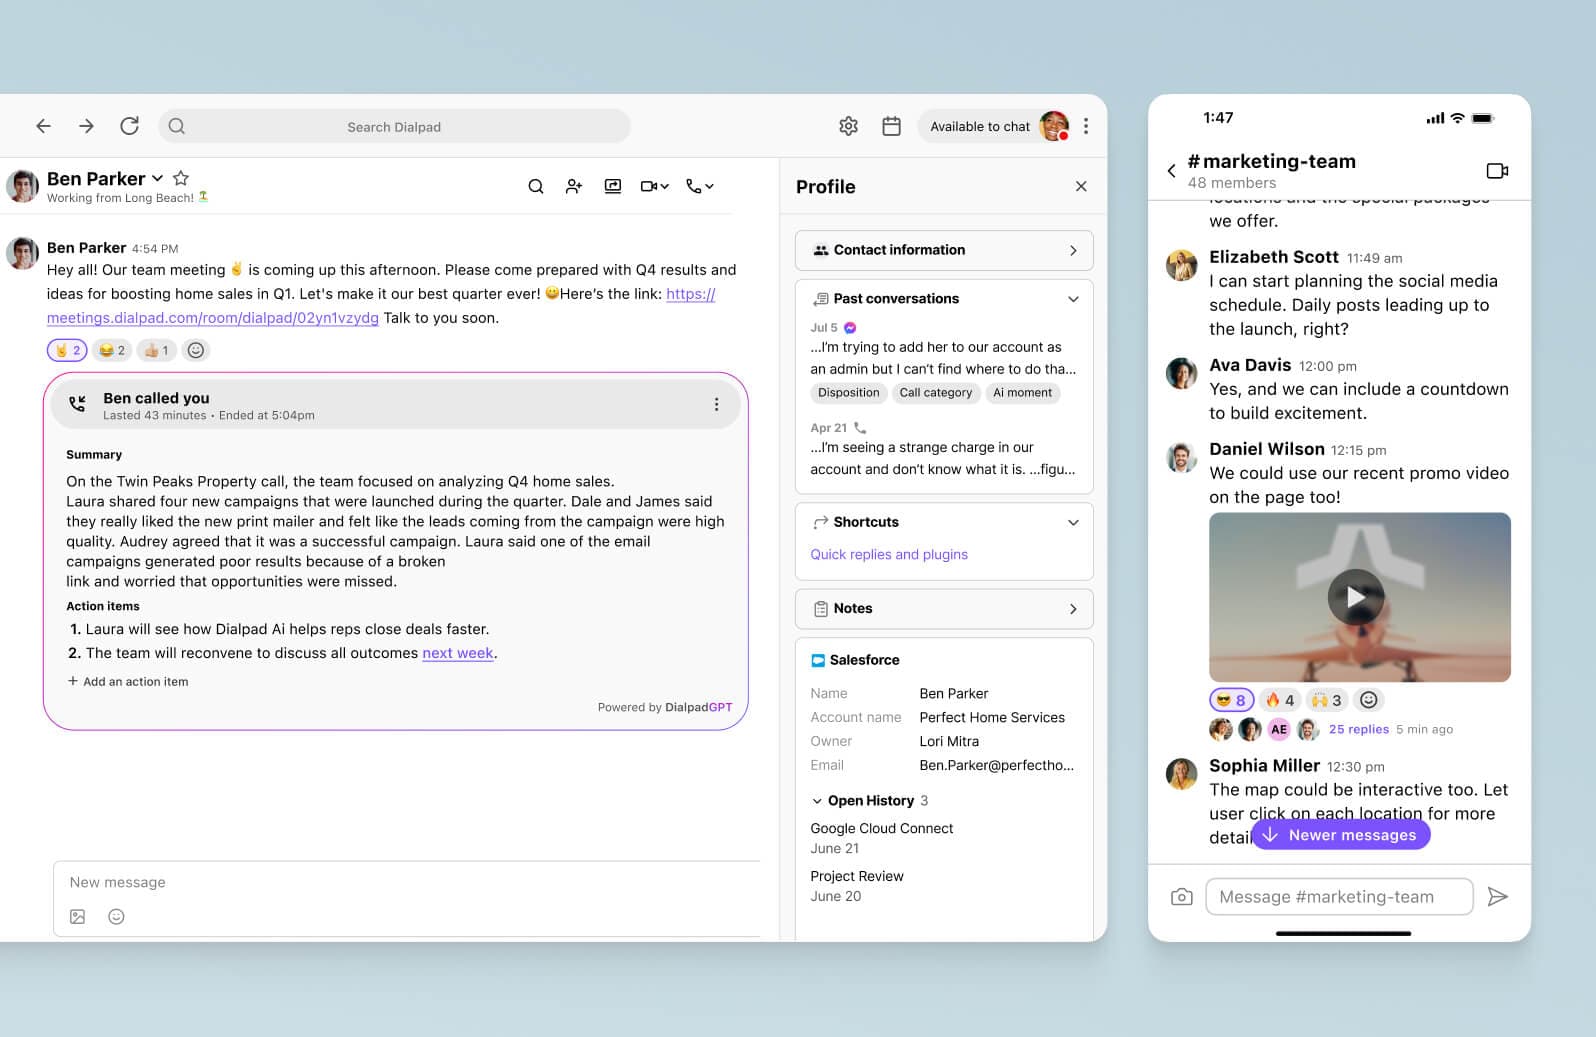
Dialpad's unified communications platform user interface

Dialpad Talk is a unified communications platform that's built to help you have better conversations, no matter where they happen.

As someone responsible for managing your new phone system, we get that there can be a lot of boxes to check to ensure everything runs as smoothly as it did before you made the switch (or hopefully better).

And that's where we can help. Let's take a closer look at some tips for admins who are just starting to get comfortable with Dialpad Talk.

Take a look around

Before you can prioritize anything, you probably want to see what you're working with. Taking a quick tour of the apps your end users will be downloading vs the admin portal (where you'll go to make system changes) can better help prioritize your first few days.

Take a look around

As you make your way through both areas, keep these questions top of mind:

  • How do calls reach my team today? Do I want to change that?

  • Are there specific devices I want people to use?

  • Who else will need access to make changes or manage settings?

Dialpad admins can always grant role-based access to other employees with an active Dialpad license (and take it away whenever they need to as well).

You'll find the answers to these questions (and then some) by logging into www.dialpad.com and clicking the Gear icon to break out categories for settings like:

📖 Dialpad Dictionary: Dialpad admins

The first person that creates the Dialpad account is considered the Company admin. Company admins have the most control over their Dialpad account, including creating new office accounts in Dialpad for each team (ex: Aerolabs Boston vs Aerolabs LA) as well as inviting users, changing routing rules, and managing billing and licensing. Regional admins are a step-down control-wise when it comes to settings. Regional admins can control multiple offices within Voice (just not all of them at once). Office admins control a single office within Dialpad (ex: Aerolabs Boston admin).

Bring Your Own Device (BYOD)

Laptop ✔ Cell phone ✔ Desk phone ✔

Your phone system shouldn't force you to choose between a cell phone or desk phone but be flexible enough to work across the devices your team's already comfortable using without sacrificing security.

Bringing your own device (BYOD) isn't a new concept but it is really handy, no matter if you've already bought and assigned devices or are re-evaluating company-issued devices entirely.

Voice supports both cases and even offers up some devices to purchase net-new if needed.

When you're ready to start connecting devices to users, you'll have a few different options inside of Dialpad:

  • Users can add forwarding devices to ring when they receive calls right from their Dialpad profiles (no admin steps needed here)

  • Admins can add a desk phone to a user's account by selecting this option in the admin portal under Desk Phones

  • Admins can also add desk phones for a shared line where more than one person will be responsible for answering or placing calls from it (ex: Accounts Payable)

✅ Dialpad tip:

Admins can see the most popular connected devices of their team within the analytics portal under Calling Habits.

Start bringing teammates onboard

When you're ready to start assigning Dialpad Talk licenses to your employees so they can start trying out the new system, you'll find three different options:

Manually add usersEnter your teammate's email address to create their account. This is good for quick one-off invites.

Sync with productivity suitesAdd people through your Google or Microsoft directory. You'll just need to connect your Google Workspace or Microsoft 365 account to Dialpad (this also helps when you want to connect your sidebar integrations).

Provision users with identity providersAdd users via identity providers like Okta, OneLogin, Azure (requires a Dialpad Talk Enterprise plan).

Inviting someone means assigning them a business phone number from Dialpad. You can always swap it out later for an existing number if you haven't already brought them into Dialpad.

They'll then receive an email confirmation that includes their new assigned number and instructions on downloading the apps.

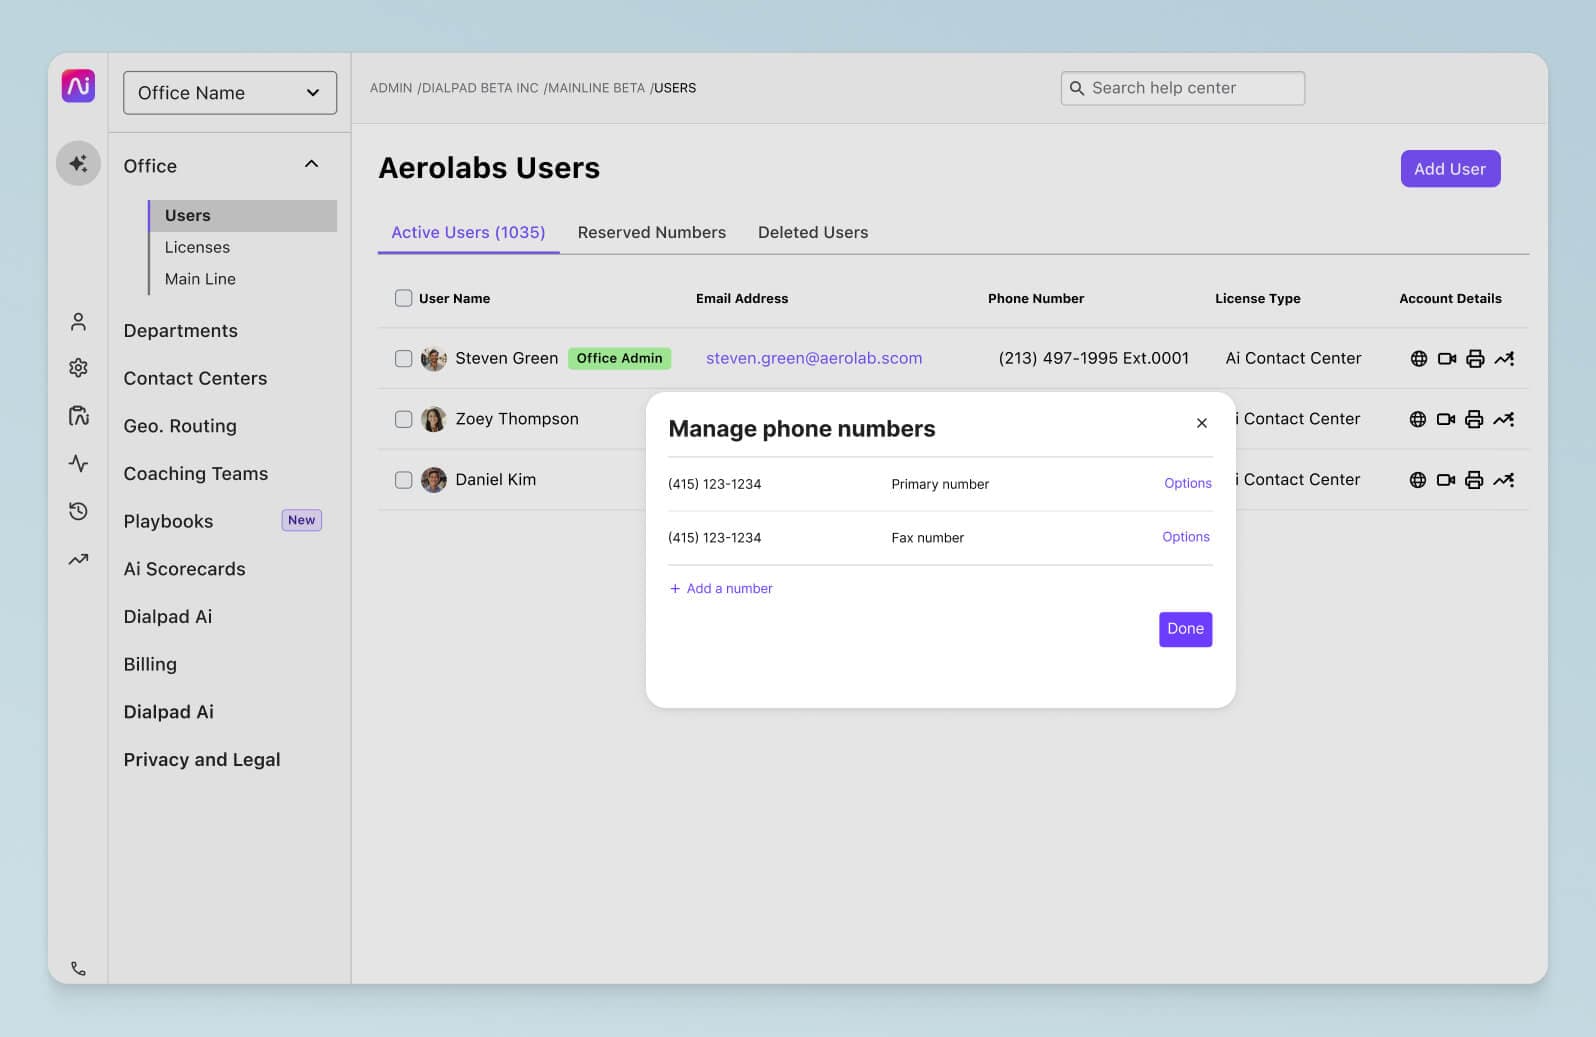
Add users UI

Your Users page will display both pending invites and accepted, active users. You'll come back to this page when you need to grab info like:

  • The names of the assigned users for that particular office

  • Your users status (invited, pending, admin)

  • Your user's permissions (ex: international calling)

Route calls to where they should go

Making sure your calls are ending up where they're supposed to—that's probably pretty high on your to-do list.

Call routing rules can be set for:

  • A group of users that belong to your office (also known as a Department)

  • Desk phones assigned to a Department or Main Line

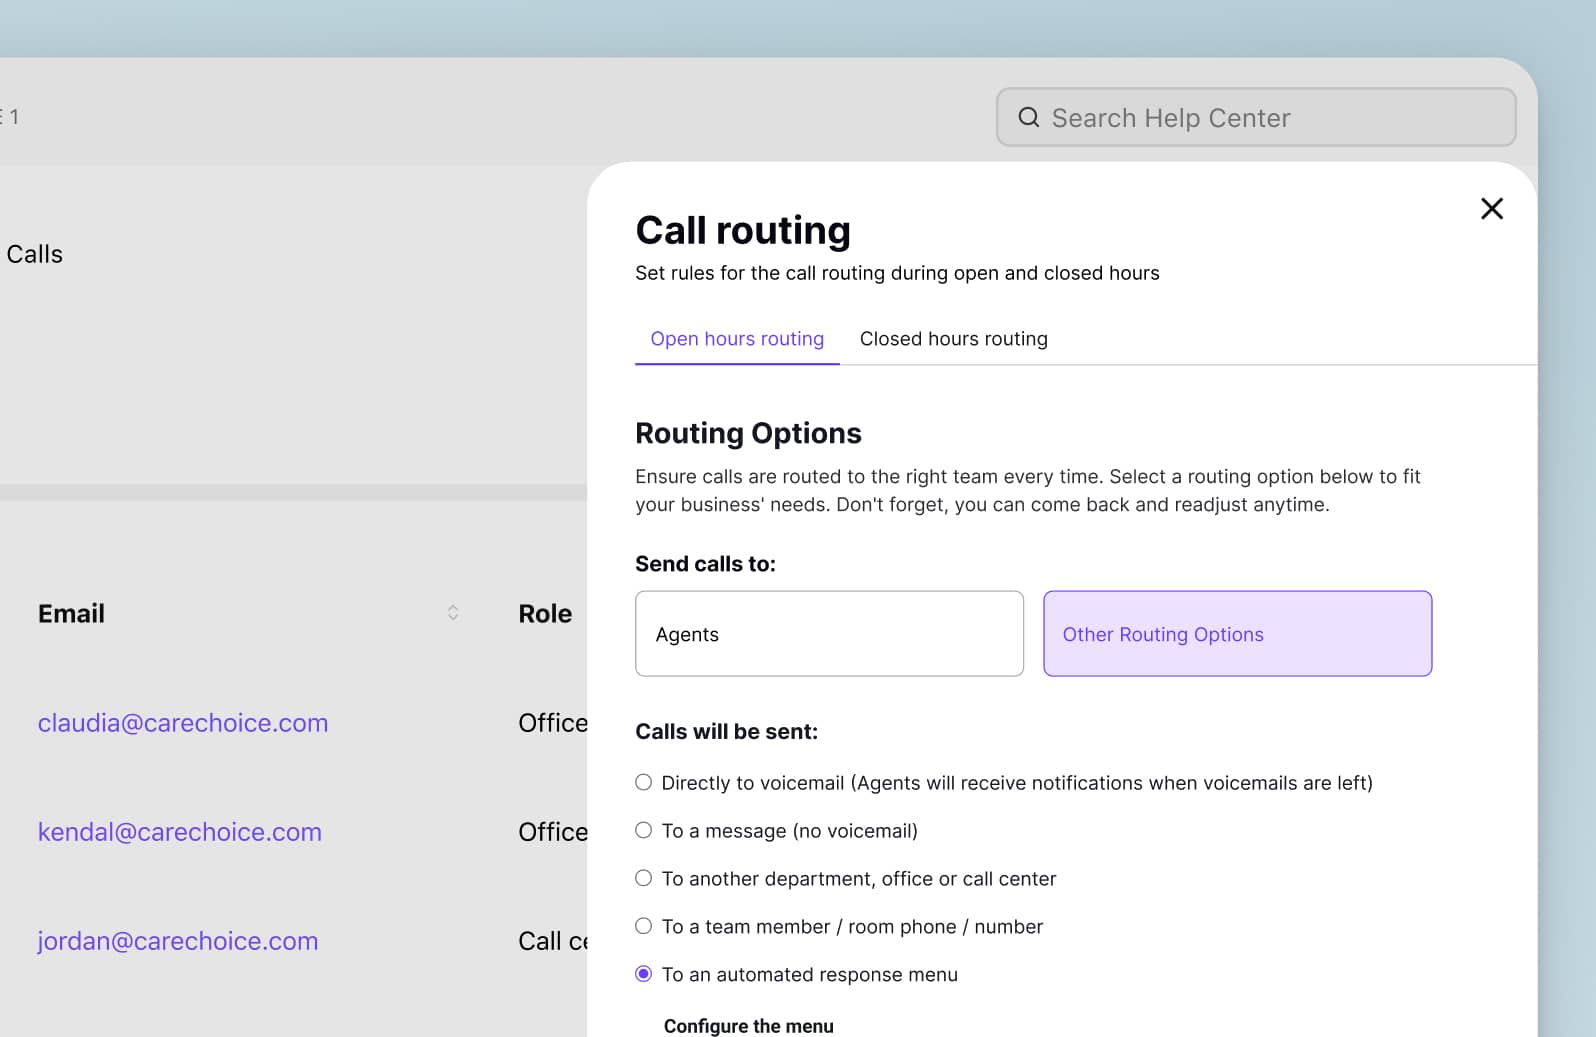
Departments in Dialpad are a place where a group of users can have the same access to make or receive calls to a specific phone number. Admins can set routing workflows that include things like:

  • Routing all calls to an automated response greeting

  • Allowing callers to enter in a dial by name directory selections

  • Routing to another a different Department or number outside of Dialpad

Call routing UI

Your Dialpad Talk users will see the newly assigned Department show up in their Dialpad app (desktop and mobile).

When new calls come in, they'll see the caller ID and also a banner highlighting the number being called—which makes identifying calls coming into a Department vs your personal Dialpad line much, much easier.

✅ Dialpad tip:

Users can adjust how inbound caller IDs display on their forwarding devices (think: cell phones) by logging into their Dialpad profile (via dialpad.com) and selecting Forwarding Devices > Advanced Options.

Helpful links

Looking to learn a bit more about how to try out some of the features mentioned above? Check out some of the help articles that go into more detail plus offer up FAQs and tutorial videos:

Ready to move on? Check out our part two guide where we'll dive into how to bring your numbers to Dialpad, how to get the most out of Dialpad Ai, and more.

Take Dialpad for a spin

Sign up for a 14-day free trial to get phone calls, video meetings, and instant + SMS/MMS messaging in one place. It takes just a few minutes to get started, and you'll be set up with a virtual phone number too!