“Press one for sales, two for customer support, and three for all other queries.” Or even: “please clearly speak the name of the department you wish to speak to after the tone.”
We’ve all heard these messages when calling a company, right?
For all types of businesses they’re a crucial part of directing callers to the people most able to help them. And when you dig down into the how of this call routing you’ll find the branches of a phone tree. Okay, we know you’d normally find roots if you start digging, but you get what we mean.
Phone trees—otherwise known as interactive voice response (IVR) systems—help incoming callers interact with contact centers or call centers via automated greetings that route calls to available agents. This communication template is ideal for directing callers to relevant information efficiently (with minimal human intervention on your end).
So, how can you build a good phone tree that gets people what they need, without being overly complicated?
Well, you’ve come to the perfect place to find out.
We’ll look at the difference between traditional and automated phone tree systems, some typical call tree use cases, and some best practices you can employ when creating your own phone tree in the workplace.
So, let's start creating a better customer experience with a phone tree.
How to set up a phone tree on your phone system
Setting up your phone tree is generally a pretty straightforward and intuitive process, and you should be able to easily customize your call routing and forwarding preferences.
So, if you’re interested in setting up your own phone tree, then here’s a step-by-step breakdown of how to do it. We’ll use Dialpad as an example.
1. Sign up for a phone service provider and get your unique office Main Line number
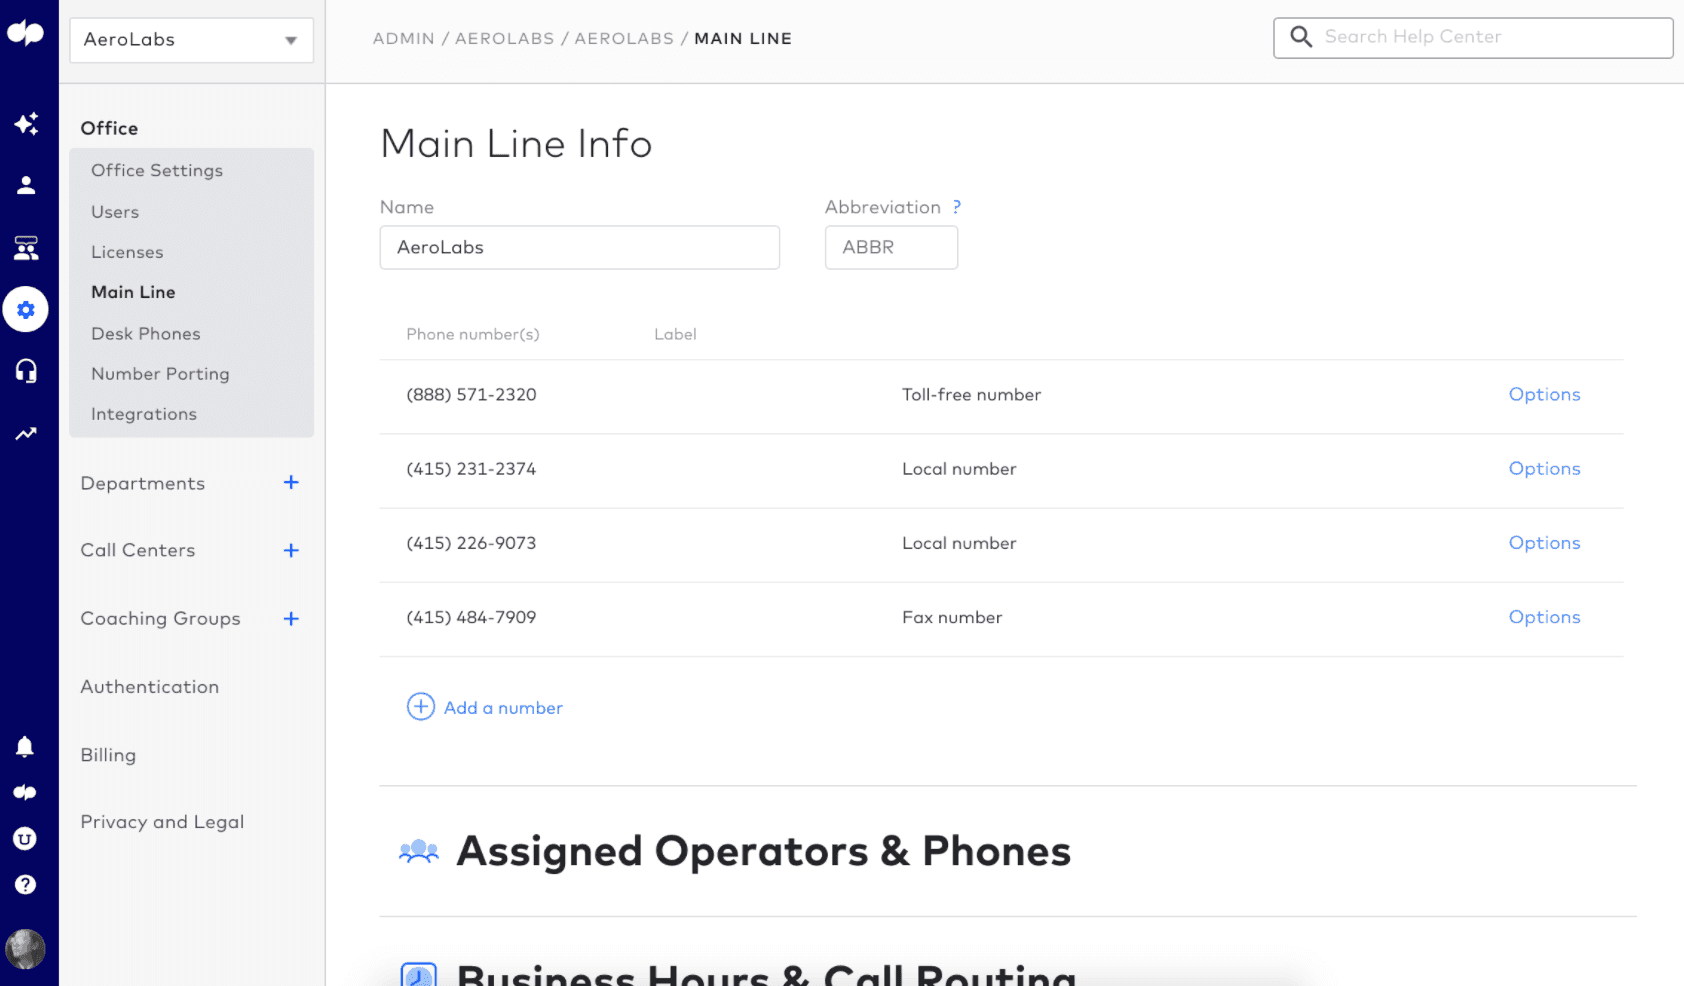
First thing’s first, you’ll need to create and manage a Main Line. With Dialpad, companies are provided with Main Line phone numbers. This is your business’ go-to telephone number for incoming callers.
You can then assign particular operators, phones, reception desks, business hours, hold music, Dialpad Ai, and many additional features to your Main Line:
2. Add team members as operators within each department
Next, you’ll need to create and manage individual departments and operators within your call tree. These are the departments that’ll be offered to your incoming callers and the operators who’ll serve them.
Departments route callers to specific groups of people or teams—for example, technical or customer support. With Dialpad, you’ll be able to name personalized departments and add local, toll-free, and fax numbers.
3. Set up call routing rules according to your business opening hours
Once your phone tree is organized into departments, it’s time to set specific call routing rules. These call routing rules are essentially the branches of your phone tree, or how your callers will get routed to different people and teams.
With Dialpad, it’s very straightforward. Just set your business hours and personalized instructions for times when your department is open and closed:
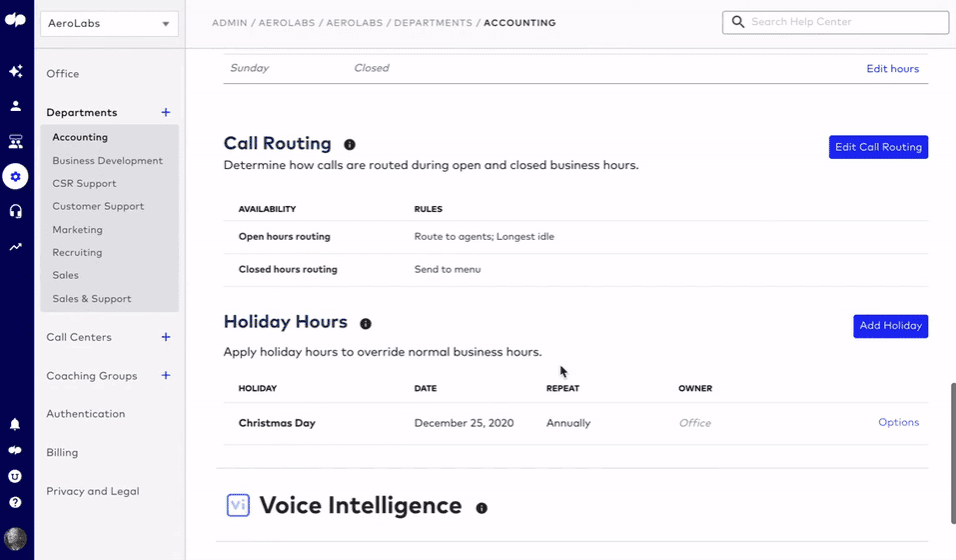
(Plus you can create an automated response to route customers through the department and even change the default voicemail greeting to a customized greeting for your business.)
Okay. Ready to get started with the templates?
5 phone tree templates for different use cases
As you might imagine, the type of phone tree template you’ll need depends entirely on what you’re planning to use it for. Phone trees vary from the super simple, to the mega complicated.
Below, we’ve outlined five common phone tree templates and their uses to offer some inspiration. Realistically, there’s a phone tree for almost any situation.
And if you can’t find the perfect free phone tree template online, there’s nothing stopping you from making your own personalized phone tree framework. (You can start with a printable phone tree template as a free download or Google one of the many online tools out there.)
In the meantime, here are five phone tree templates to get you started.
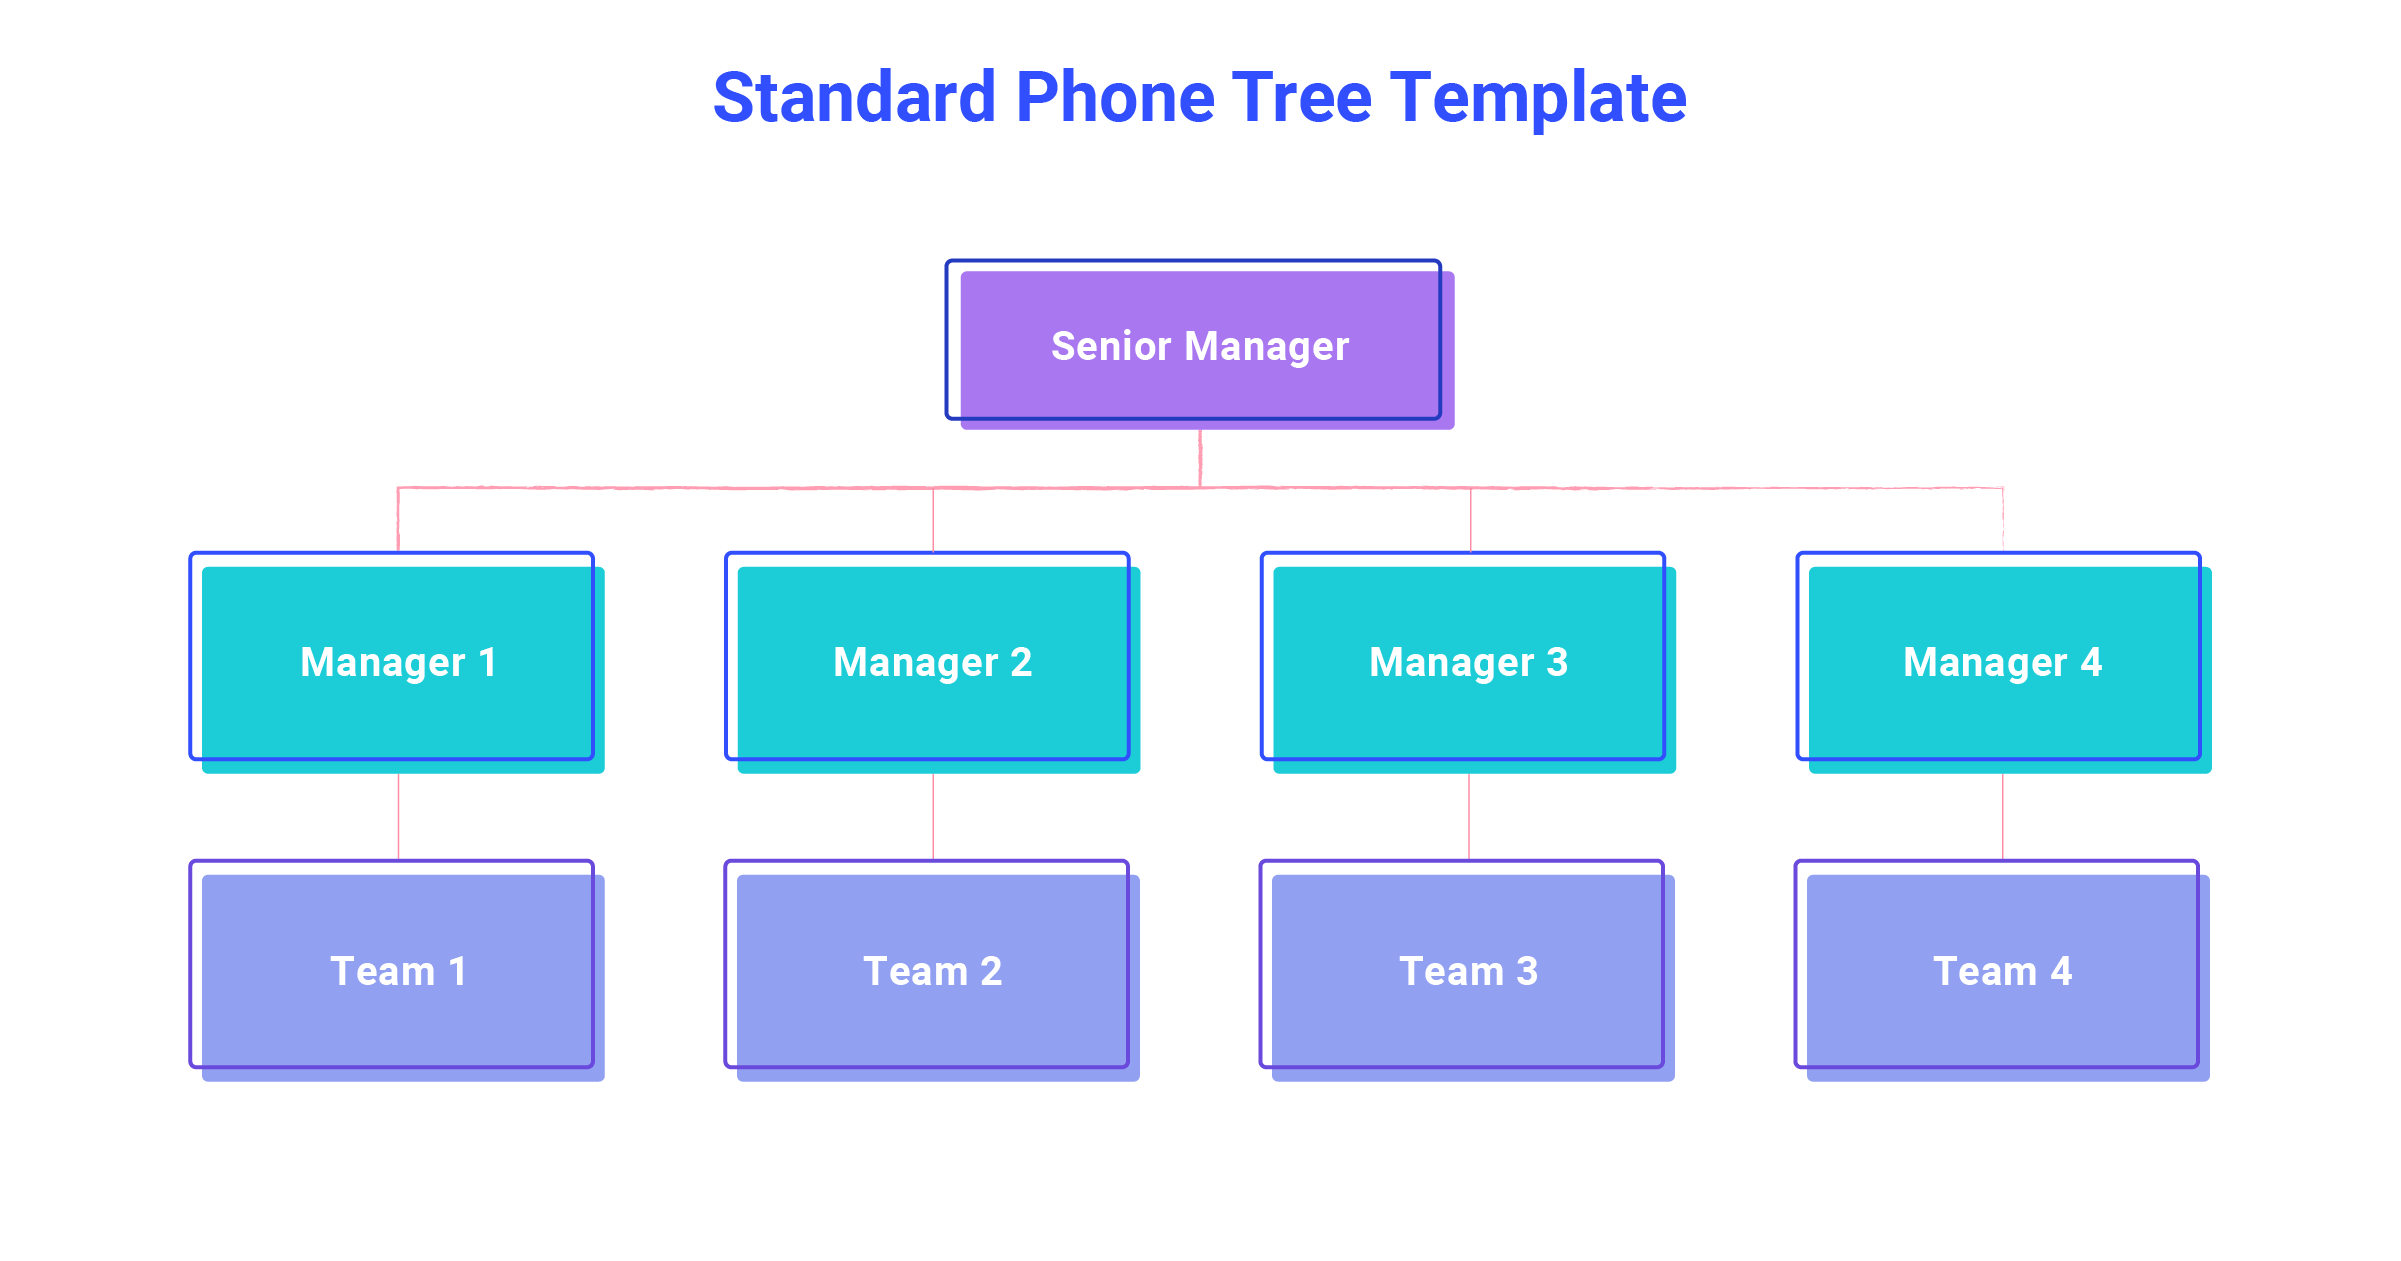
1. Standard phone tree template
This is your all-purpose phone tree. It’s simple, but effective. This template will suit pretty much any basic business phone setup and can be enhanced to meet your unique needs.
How it might look:
2. Intermediate phone tree template
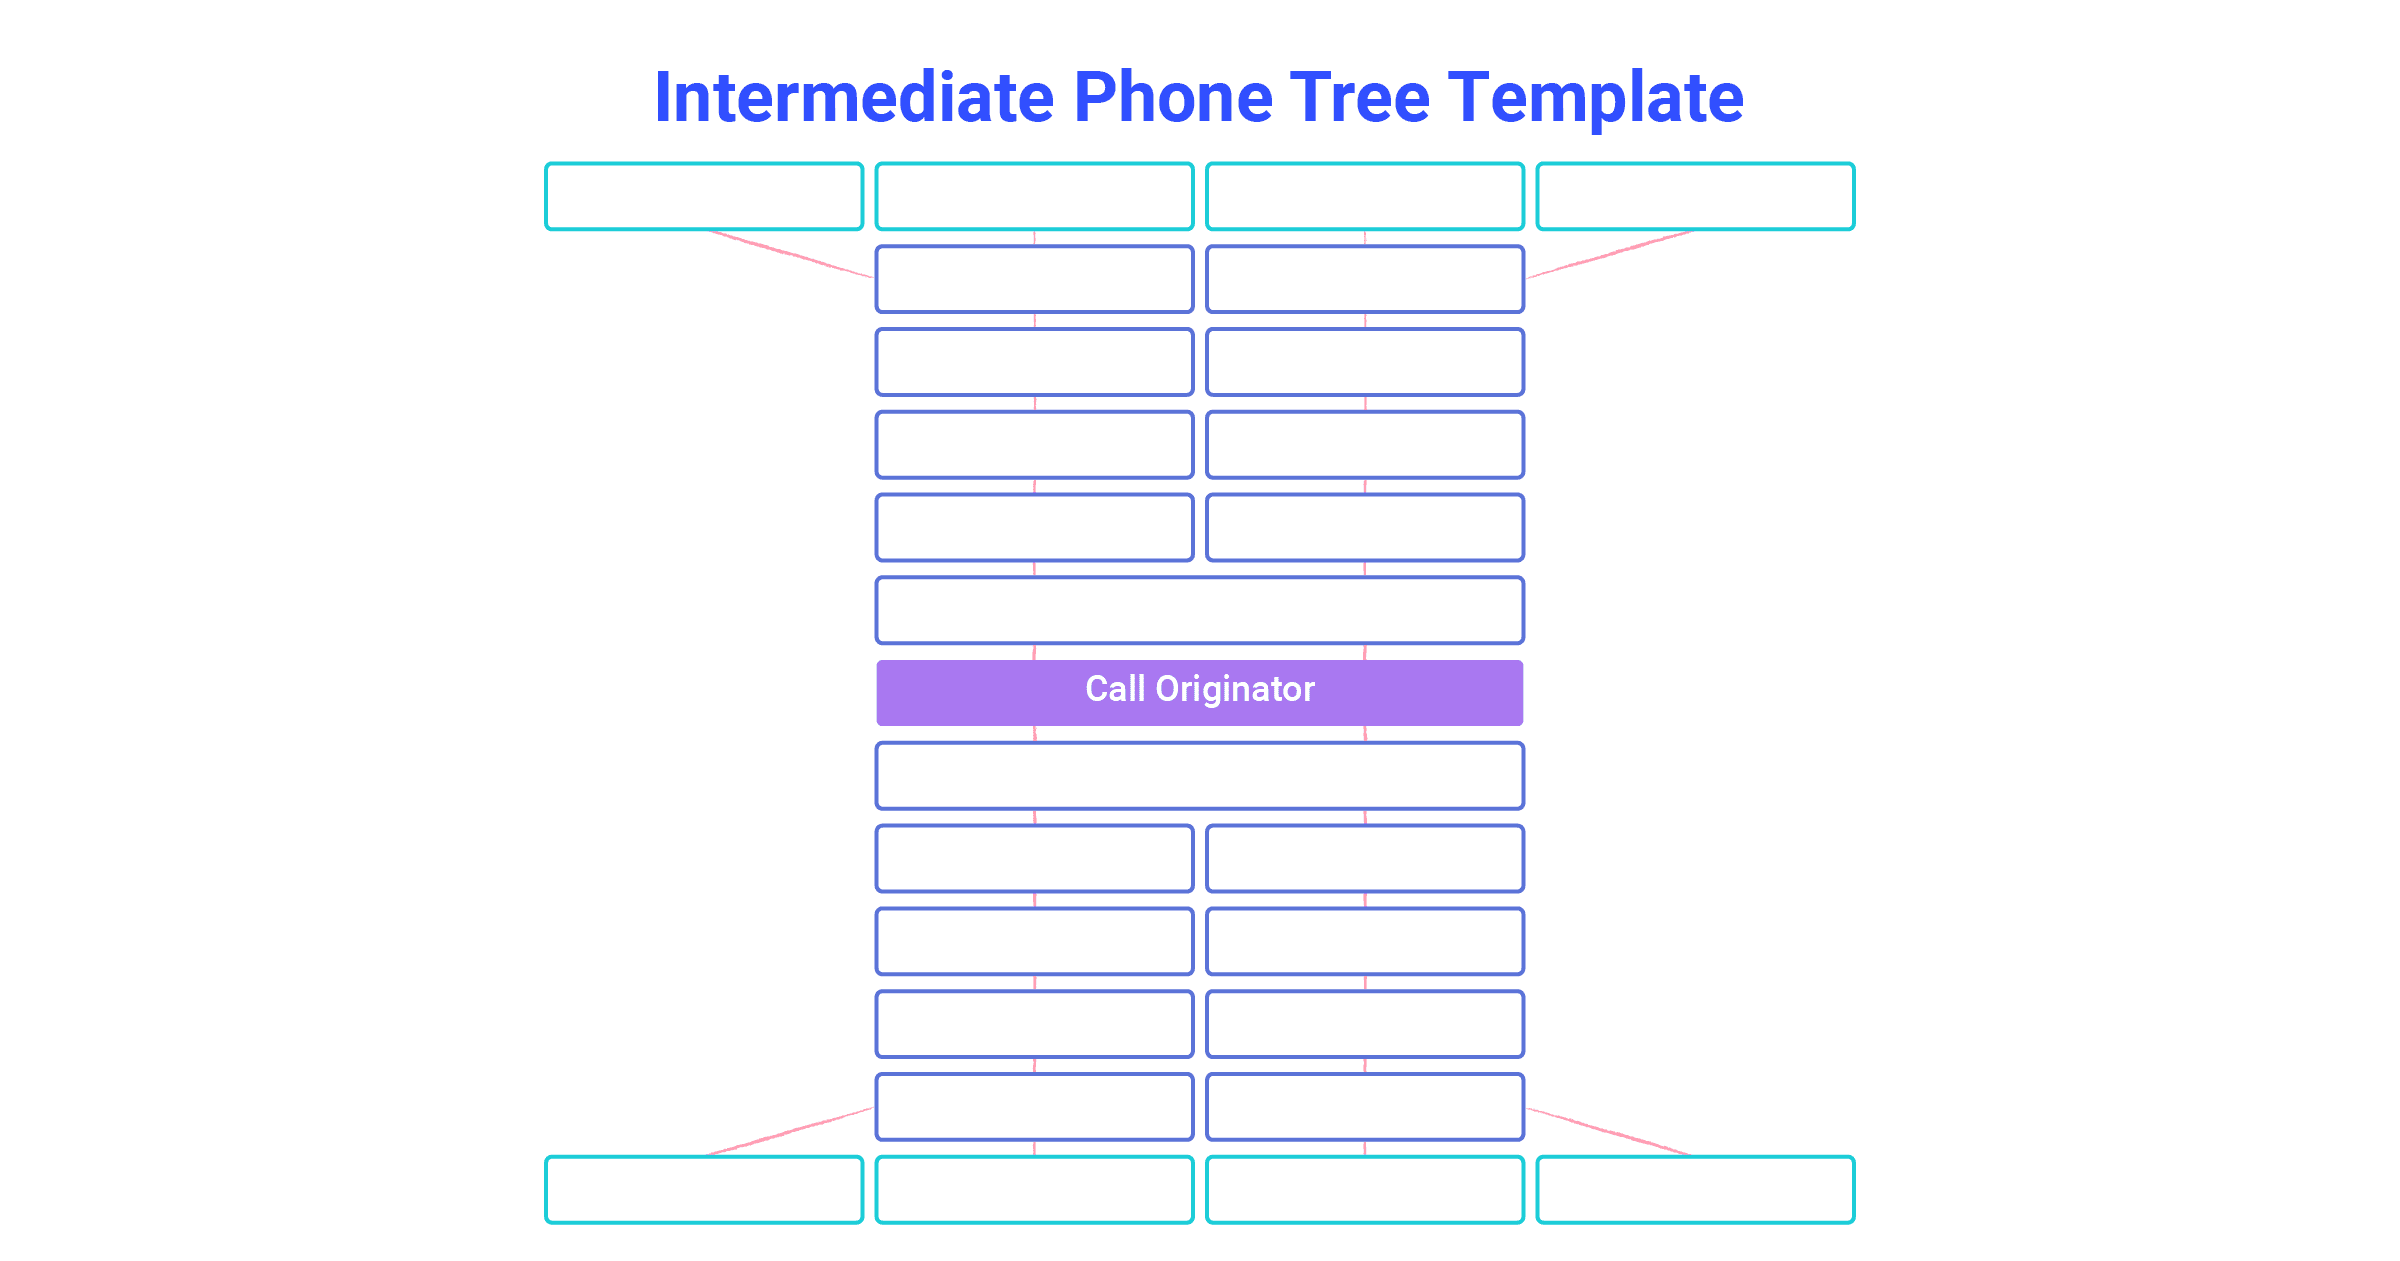
An intermediate phone tree template is a more souped up version of the standard alternative. This template is well suited for a mid-range business phone setup of up to 25ish participants.
How it might look:
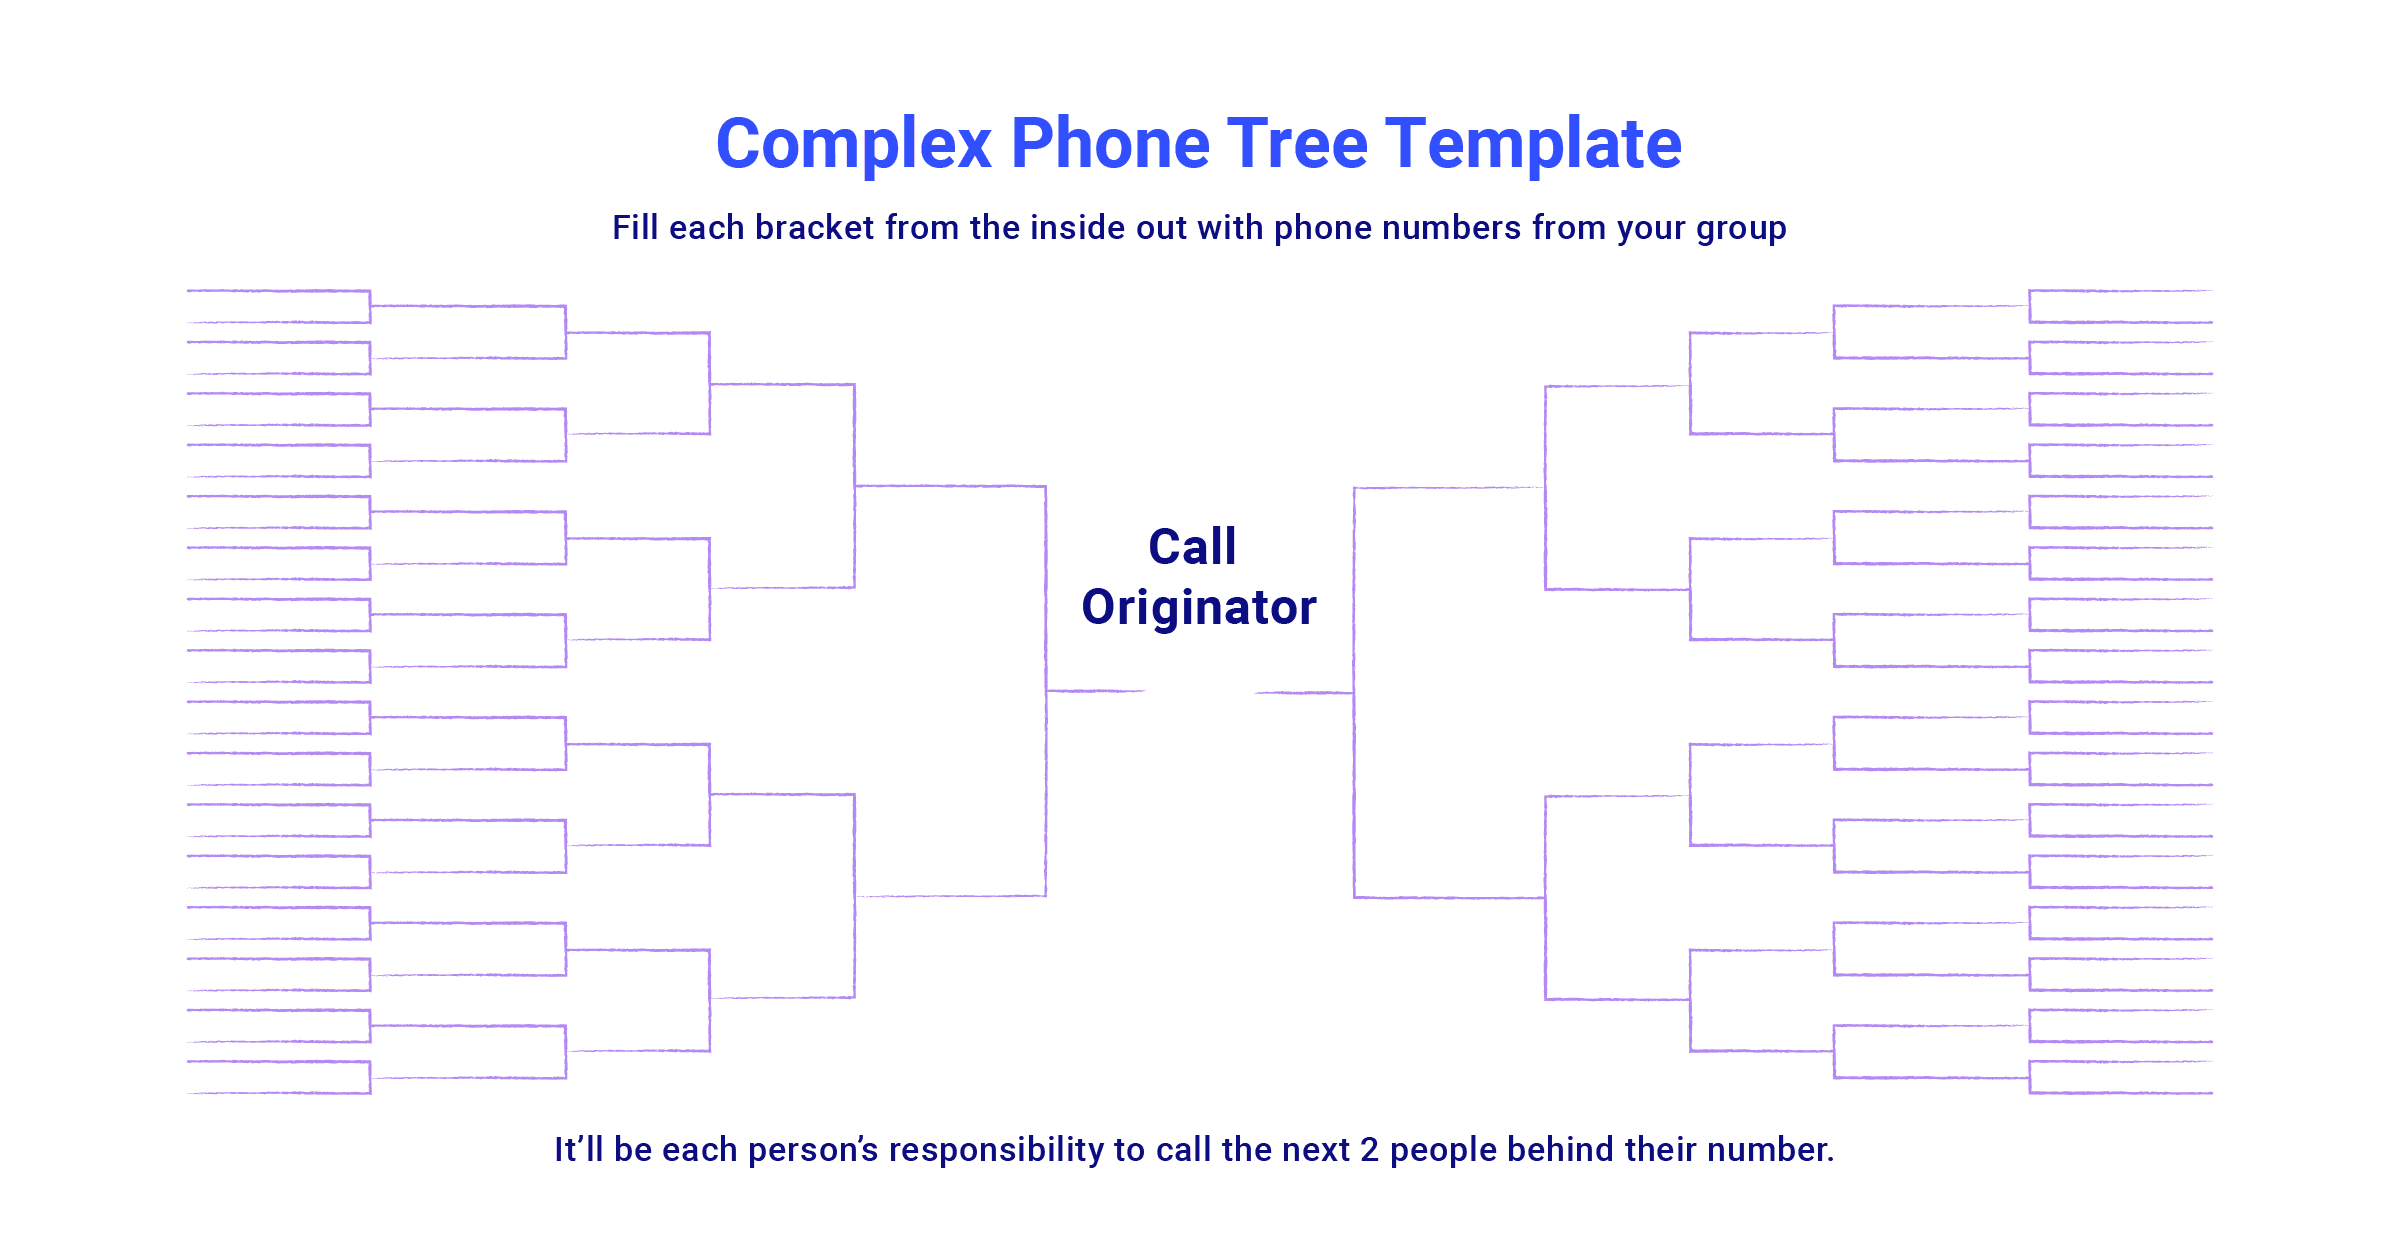
3. Complex phone tree template
If you want to fit around 30 participants in your phone tree, then you’ll need a slightly more complex phone tree with more branches.
How it might look:
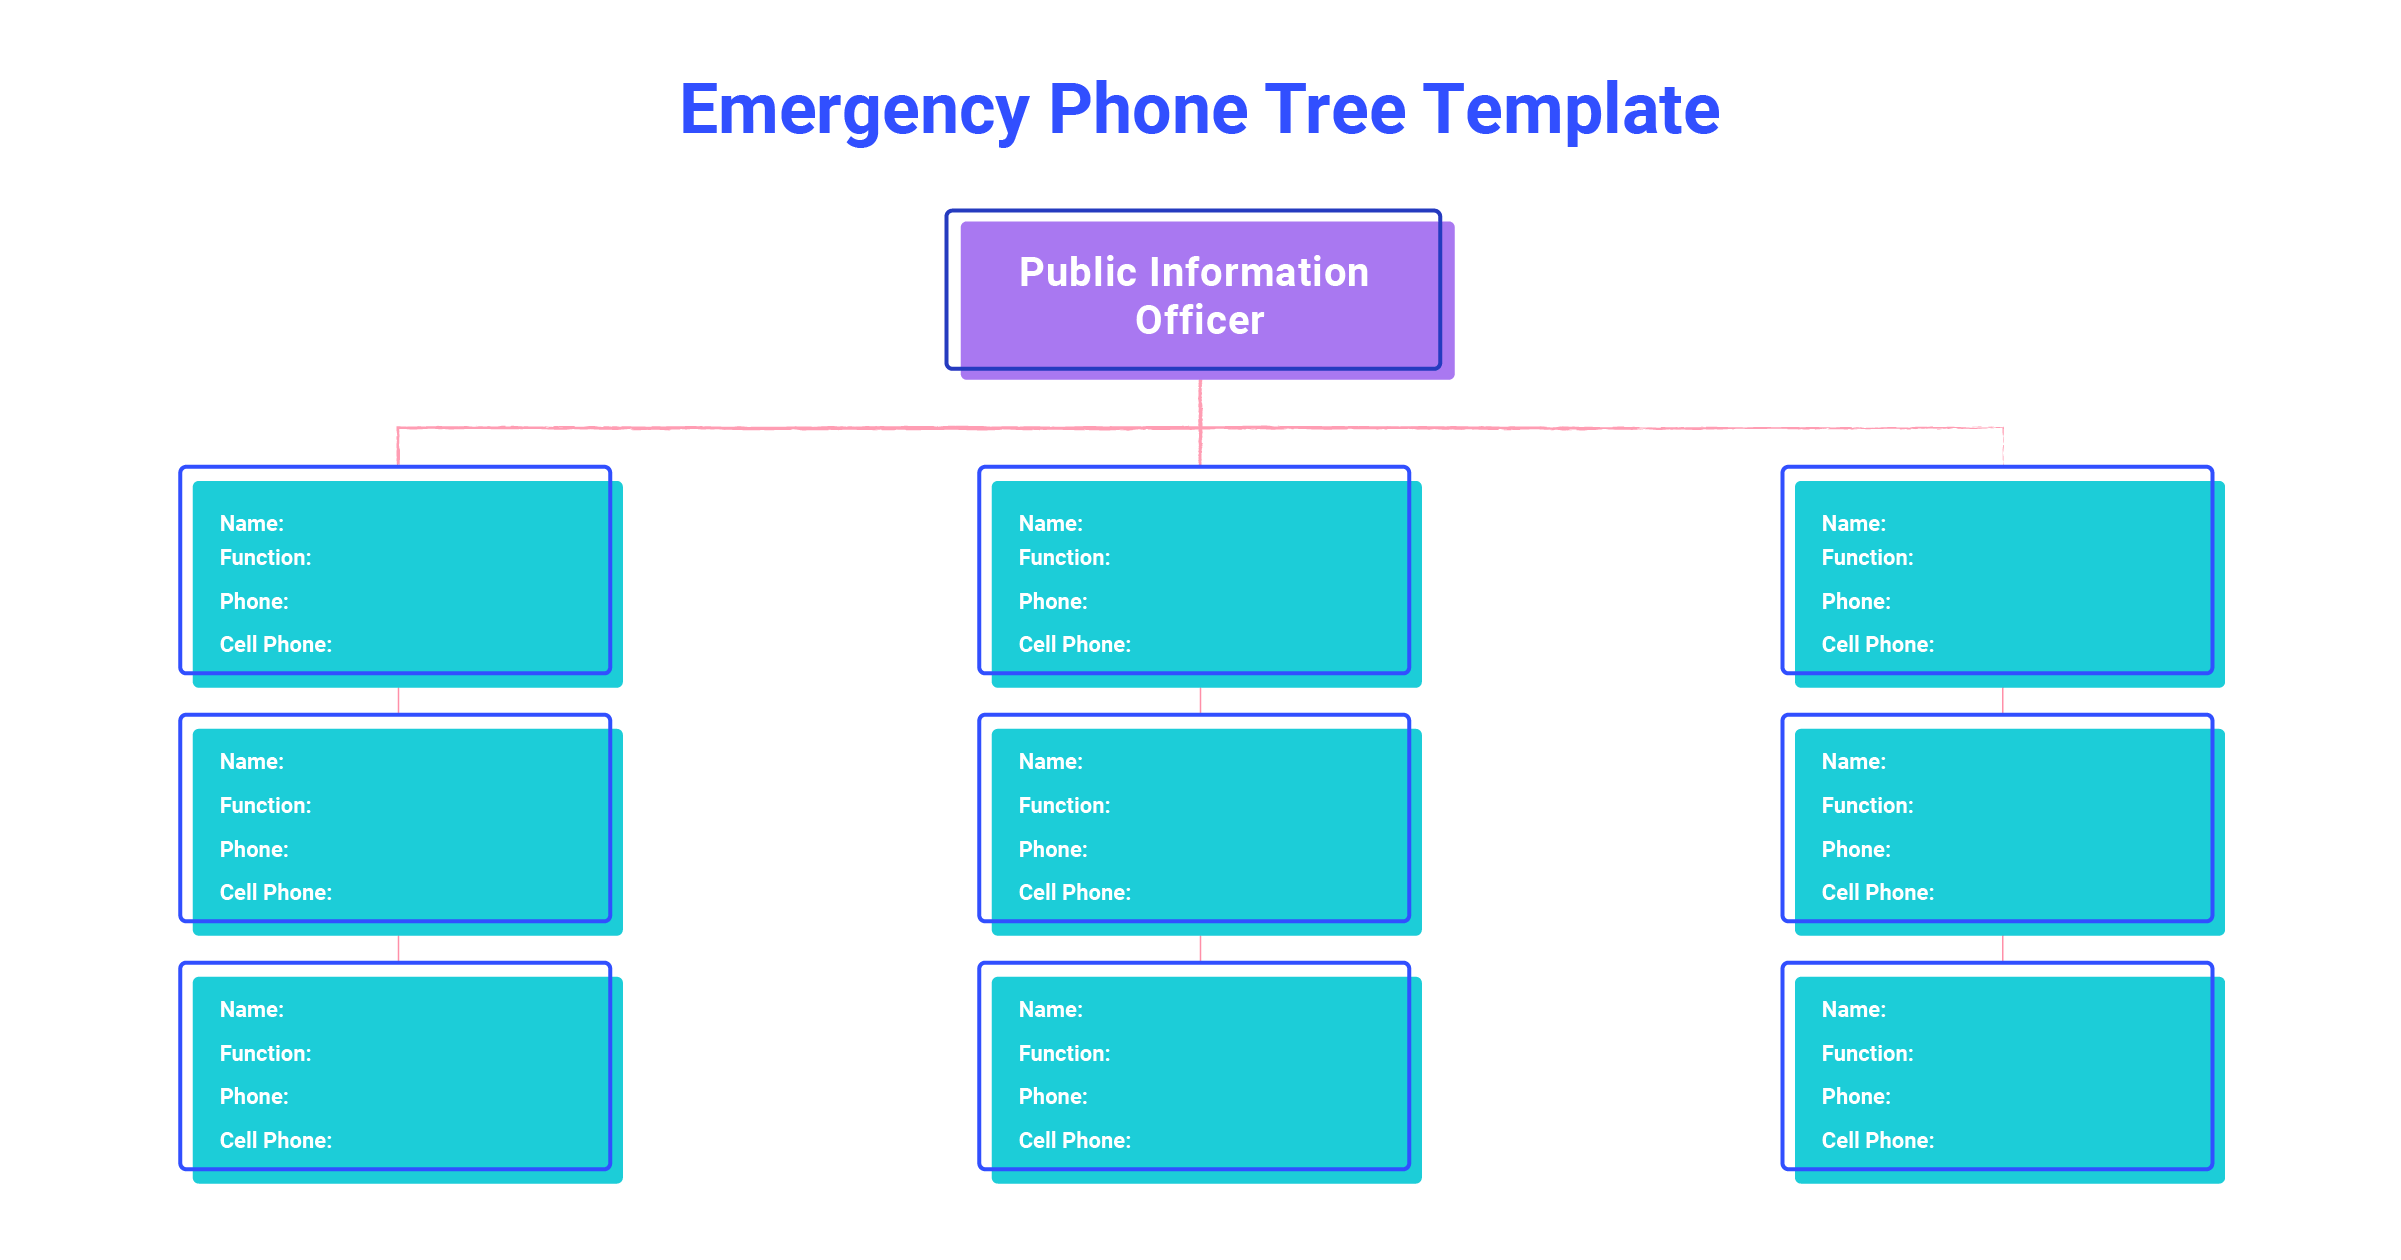
4. Emergency phone tree template
During major incidents, it’s essential that your customers or clients can contact you quickly and efficiently. And an emergency phone tree is specifically designed for use during times of incident management. It’ll make it easier for you to notify a large number of people about any changes, closures, or safety measures.
How it might look:
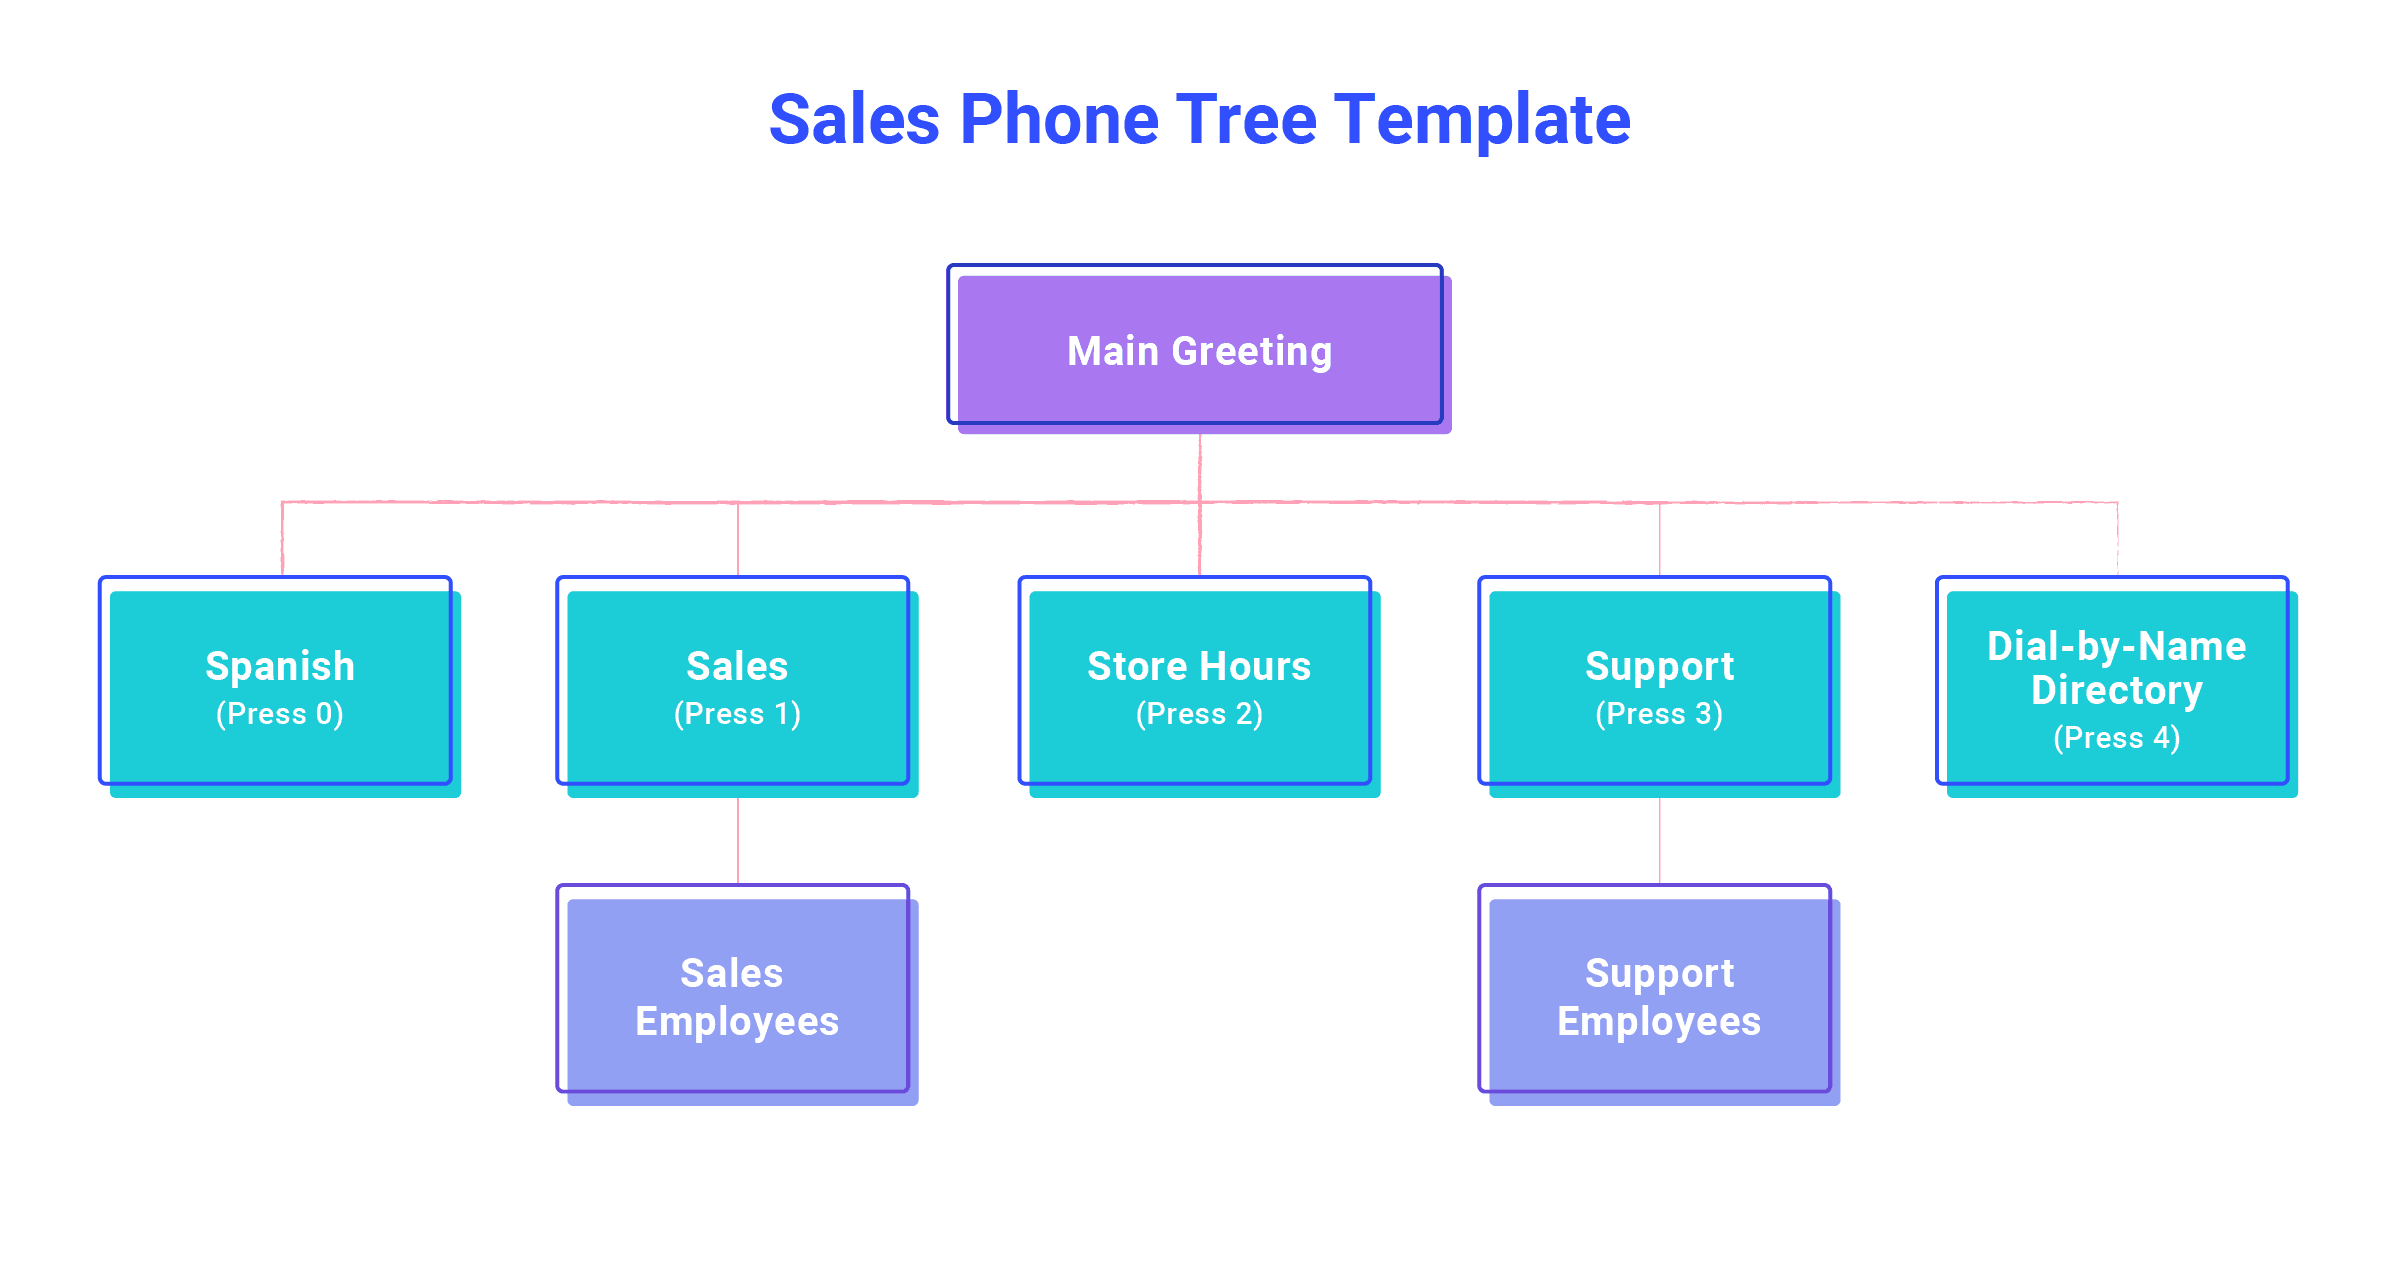
5. Sales phone tree template
For those of us who use our phone systems to make sales, this type of phone tree is ideal. But wait, you ask. If you’re in sales, wouldn’t you be the one calling prospects—instead of them calling you?
Yes, in most cases that’s true! But think of businesses that sell services or do appointment bookings over the phone. In these cases, you might want to direct callers to a menu so that they can be forwarded to the best person to make an order or book an appointment.
How it might look:
4 phone tree template best practices
So you’ve decided to make your own business phone tree. Great choice!
Before looking up the best phone tree template to use, take a look through these phone tree best practices.
1. Map your tree
First thing’s first, you’re going to want to plan and map your tree. Before setting up your voice menu, make sure you know who, what, and where. Who is going to be taking calls? What options are going on the voice menu? And where are calls being routed?

2. Align with the relevant team members
Next, make sure your employees are sorted into their relevant departments. This is especially important for larger teams with more complex communication trees.
If you’re working at a smaller business or startup, align your employees with specific departments or roles at this point before trying to deploy a virtual assistant or auto-attendant. It’s easier to make adjustments now than later.
3. Communicate schedule conflicts
Remember, planning your phone tree isn’t just about directing calls to the right people. It’s also about directing calls to the right people at the right time.
Make sure that you’re not routing callers to people or departments when they’re off the clock or busy.
A good rule of thumb to remember: your phone tree takes working hours, holidays, and individual schedules into account!
4. Keep it short and sweet
Last, but not least, make sure your incoming phone tree and call routing system is succinct. Short, sweet, and to the point, as they say.
Your customers probably won’t want to stay on the line for 10 minutes just to listen to all your options.
Aim to keep your voice menu clear and concise. Avoid offering too many options, since this will only confuse callers and cause delays when they inevitably find themselves routed to the wrong person...
Start building your phone tree template!
The telephone tree template has come a long way from its humble beginnings.
Today, automated phone trees are a simple, but super effective tool for businesses—and helps small teams in particular punch above their weight.
Ready to set up automated phone trees using an AI-powered collaboration platform?
Take Dialpad for a spin
Sign up for a 14-day free trial to get phone calls, video meetings, and instant + SMS/MMS messaging in one place. It takes just a few minutes to get started, and you'll be set up with a virtual phone number too. Or, take a self-guided interactive tour of the app first!


