Web portal
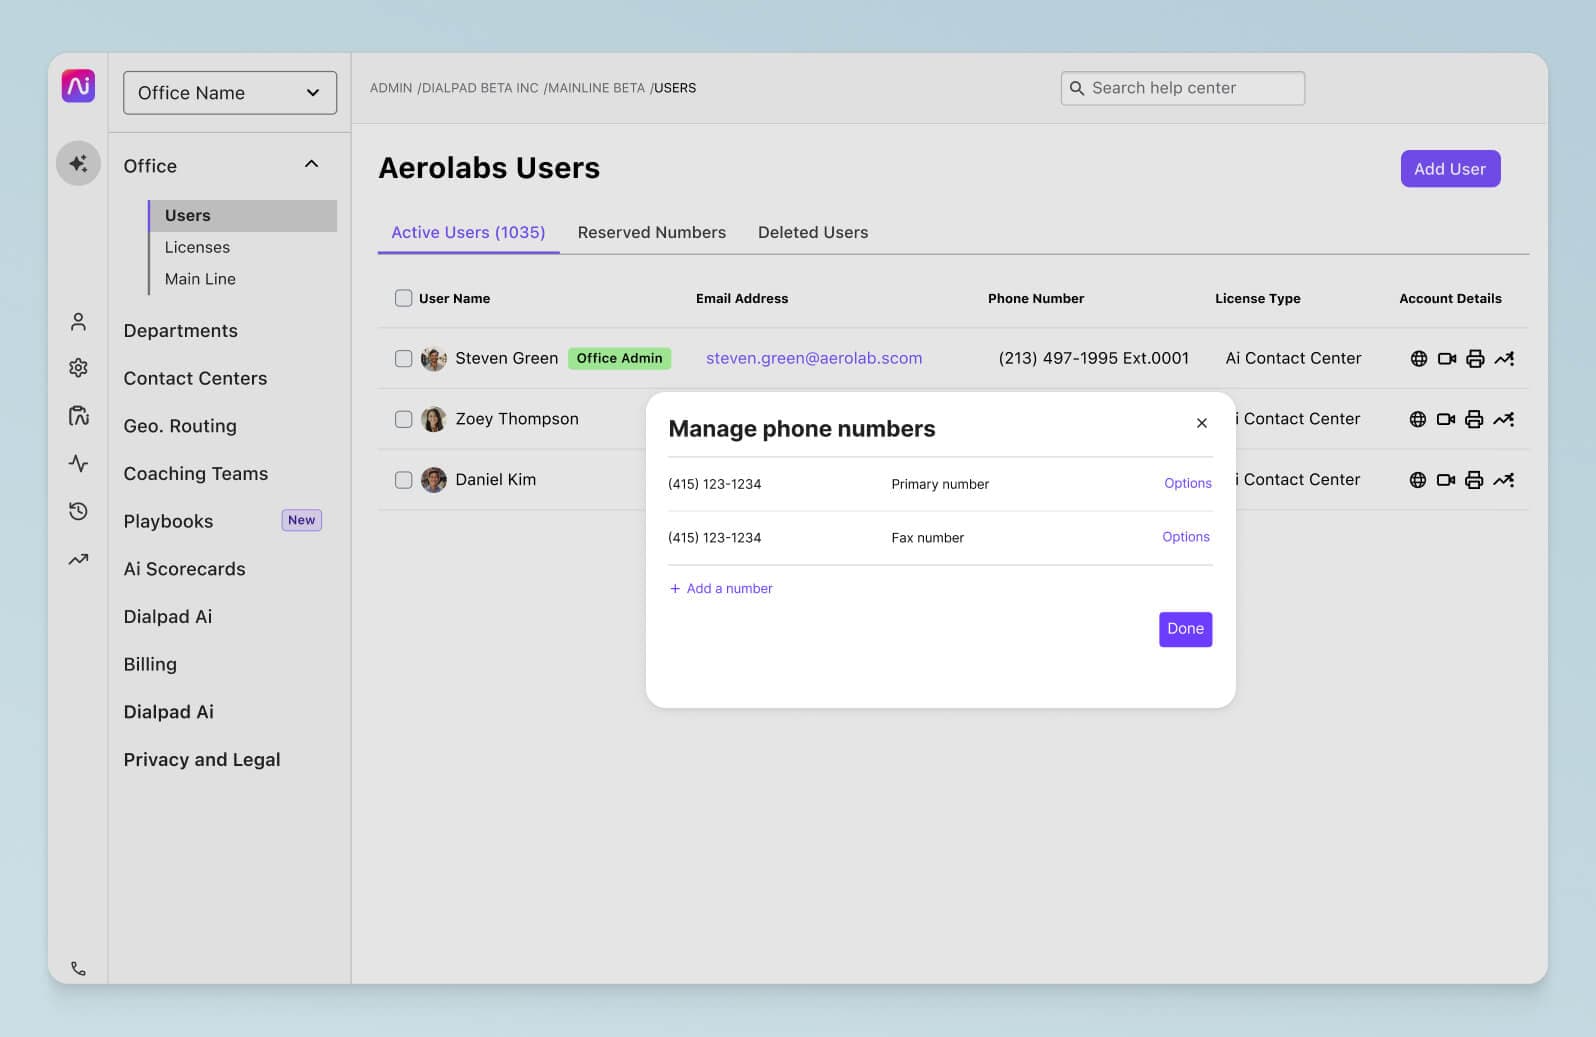
With Dialpad's web portal, it's easy for administrators to set up and manage every aspect of the platform, including adding phone numbers, adding (and removing) users, customising voicemail greetings, and more. Book a product tour to see how it can work for your organisation!

Not only is Dialpad an AI-powered collaboration platform that lets you make phone calls, send instant + SMS/MMS messages, and have video meetings from an intuitively designed desktop and mobile app... It's also super easy to admin and manage, right from your online portal.
In Dialpad, you'll have access to either the admin portal or user portal, depending on your level of permissions:
Administration portal
Dialpad account admins have full control over every adjustable team setting and feature within Dialpad. When you log into the admin portal, you can access a number of different features including:
Office settings:
This includes Teams and Users, Main Line, Desk Phone and Office settings, Number Porting, and Integrations.

Departments:
Here, administrators add or remove departments, as well as assign operators, establish hours, and create call routing rules for those departments.Call centres:
Here, admins may add new contact centres, add agents to those teams, create call handling rules, establish hold music, and more.

Billing:
This section contains the account’s monthly invoice as well as its entire billing history.Authentication:
This section allows admins to select their SAML provider: Choose between Google, Okta, OneLogin, or a custom option. API keys may also be added.
Integrations:
Add or disable any integrations at a company level.
User portal
If you're not an admin, you can still make adjustments to a number of different settings within your account including:
Basic information:
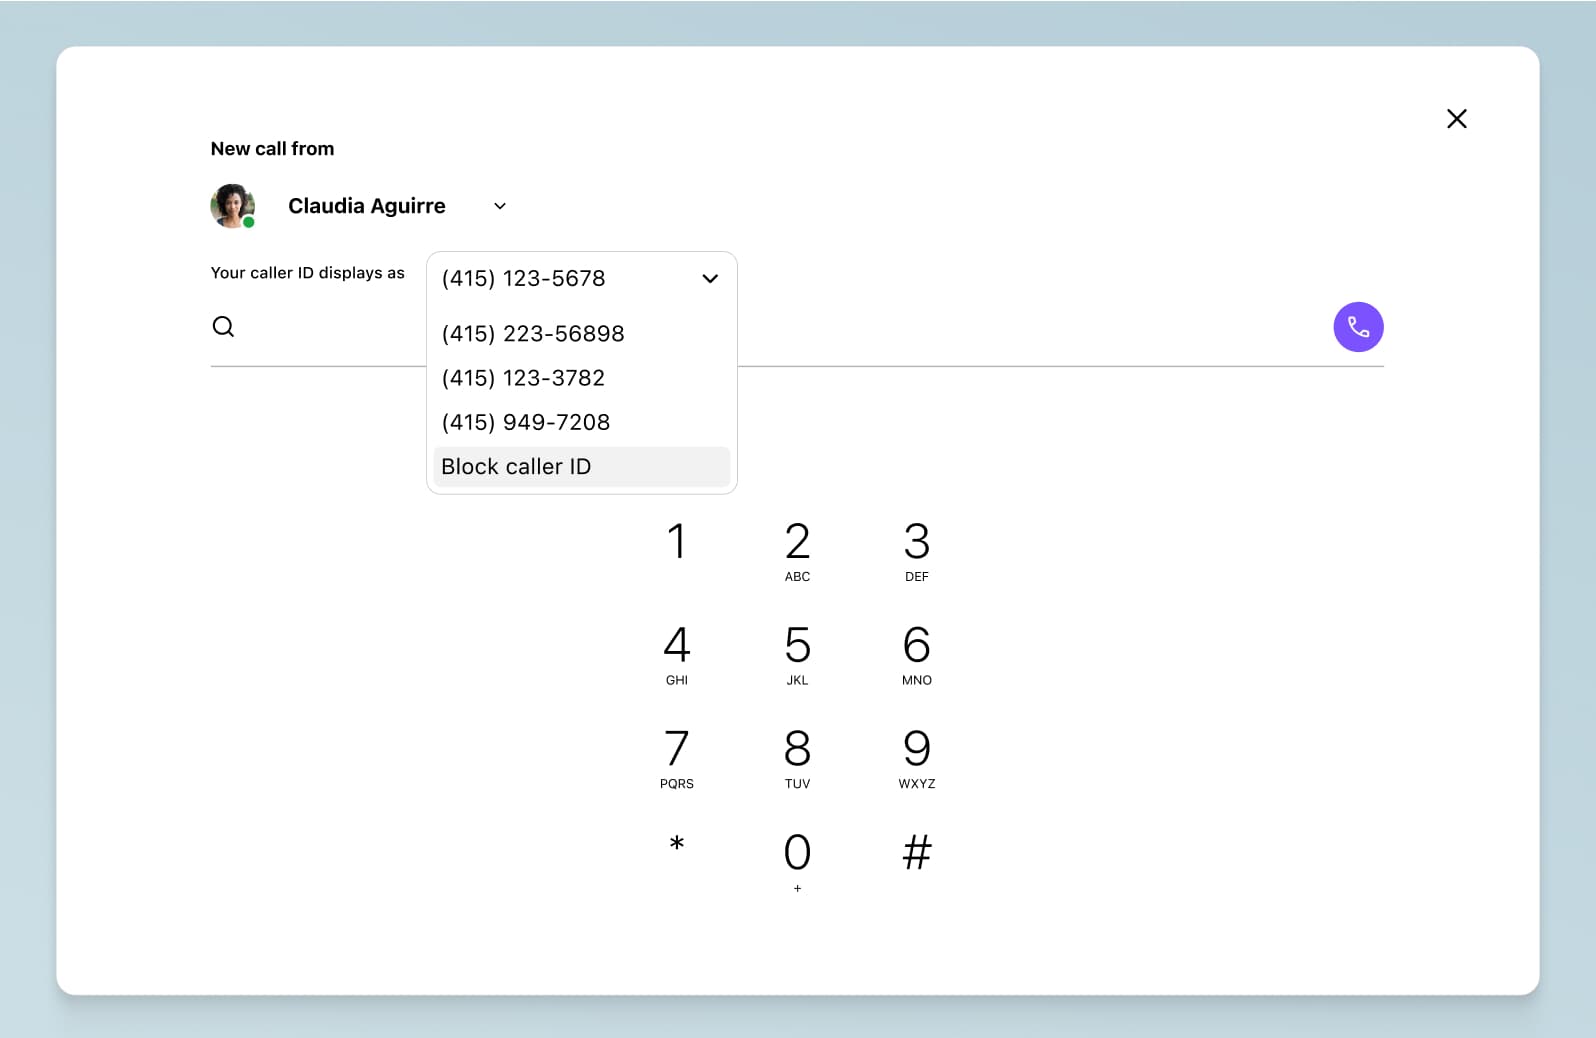
You can upload an avatar (or just use the one from your Google or Microsoft 365 account), select which phone number will appear as your outgoing caller ID number, and select language and timezone.

Voicemail settings:
Here, you can upload a voicemail greeting, record a new one, or just use the default greeting. You'll also have access to advanced settings like how long a call will ring before being sent to voicemail, as well as individual call routing rules.Executive Assistant:
Assign Executive or Assistant status to someone—this way, calls will go through the Assistant's phone number first (you can also choose for the call to go through your (the Executive's) number first.
E911:
Establish the physical location that emergency services will go to when 911 is dialled.
Want to try out Dialpad's web portal?
Sign up for a free 14-day trial to check out how easy it is to change your settings in Dialpad. It takes just a few minutes, and you'll be set up with a virtual business number too. Or, book a demo with our team to see how it works!


